🎃Escalofriantes Zarcillos para Lucir en Halloween🎃Spooky tendrils to show off on Halloween🎃


Hoy quiero enseñarles como elaborar unos lindos y fáciles zarcillos hechos con foamy escarchado genial para lucir en las fiestas de halloween.
Me eh animado a seguir creando post de continuo y les cuento que de verdad estoy muy emocionada por esta fecha en la que se celebra halloween.
Los materiales utilizados en la elaboración de los zarcillos de Halloween fueron los siguientes
Materiales:
🎃 Foamy escarchado negro
🎃 Foamy escarchado naranja
🎃 Foamy escarchado blanco
🎃 Silicon
🎃 Tijera
🎃 Alambre de cobre
🎃 Pinza
COMENCEMOS!
A continuación paso a paso:
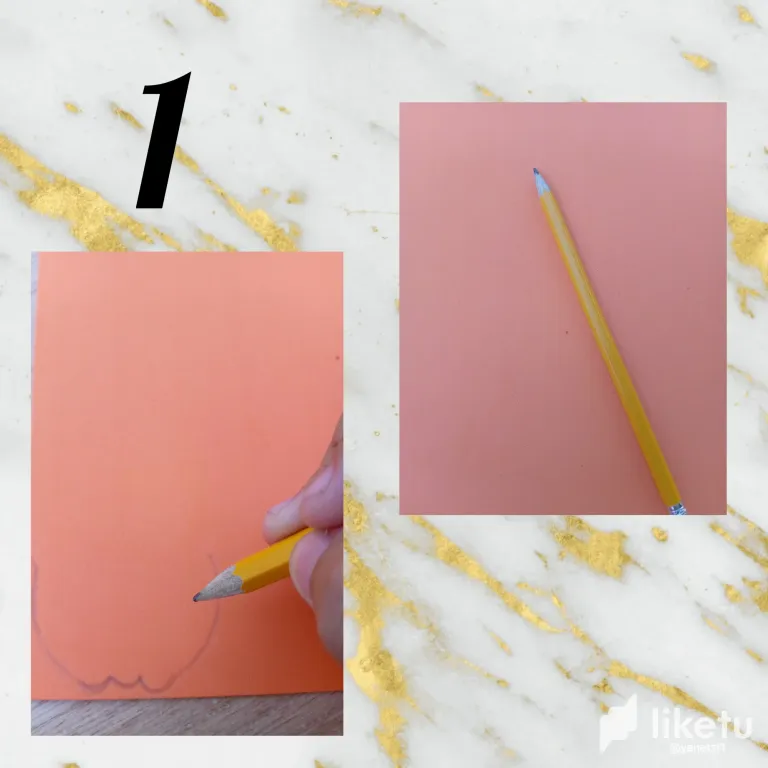
Paso 1
Lo primero que vamos hacer es tomar el foamy escarchado color naranja junto con el lápiz y con algo circular vamos a ir marcando la mitad de círculo y luego así vamos a ir recortando poco a poco luego después de esta forma va a quedar nuestro primer paso para la elaboración de nuestros zarcillos de halloween.
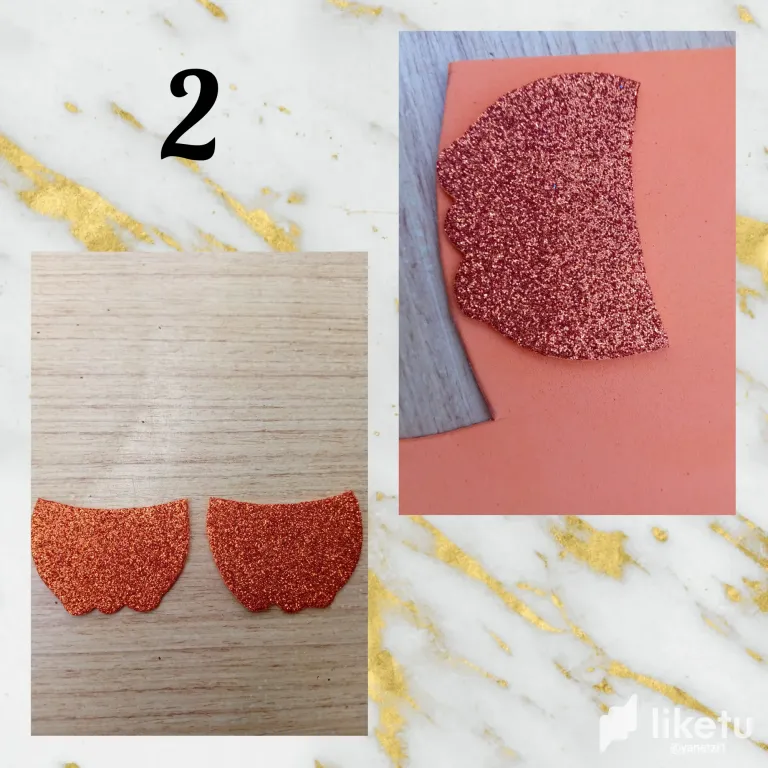
Paso 2
Bueno ahora teniendo ya nuestras formas recortadas con foamy escarchado naranja de esta manera.esta tecniza es muy siempre que cortemos la primera figura de cualquier cosa esa nos sirvira para poder sacar la otra de la misma forma y tamaño.
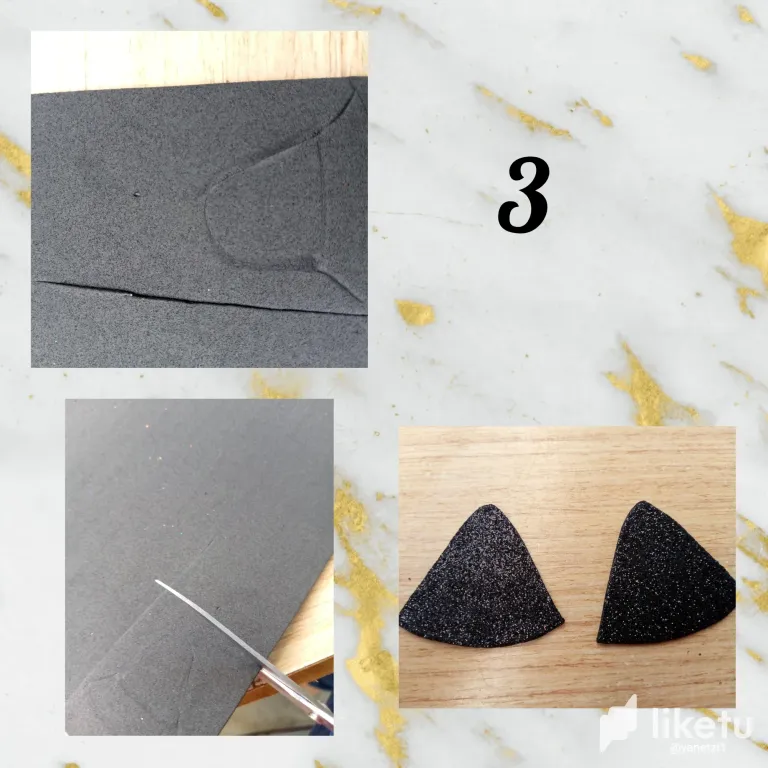
Paso 3
Luego con el foamy escarchado negro vamos a hacer la forma del gorro de la calabaza
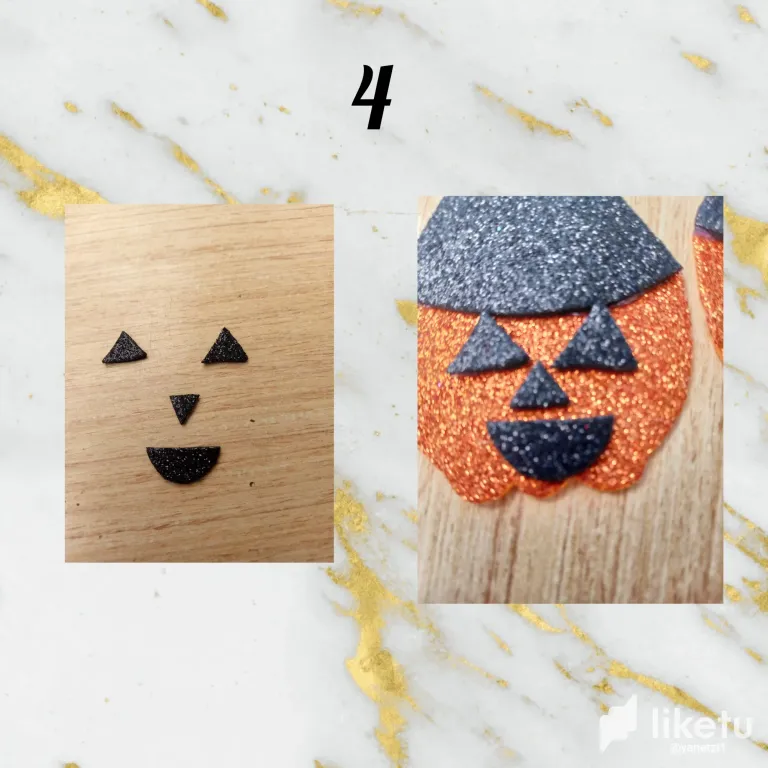
Paso 4
Ahora lo que haremos con el foamy escarchado negro las partes de los ojos la nariz y la boca vamos a recortar con la tijera dos triangulos los mas pequeños estos serán para la parte de los ojos luego despues de haberlos termida comenzamos haciendo otro triangulo mas pero mucho mas pequeño que es para la nariz de nuestra calabaza y al final solo vamos a hacer la boca en forma de media luna pero acostada y asi quedaran parte de nuestros hermosos zarcillos de halloween .
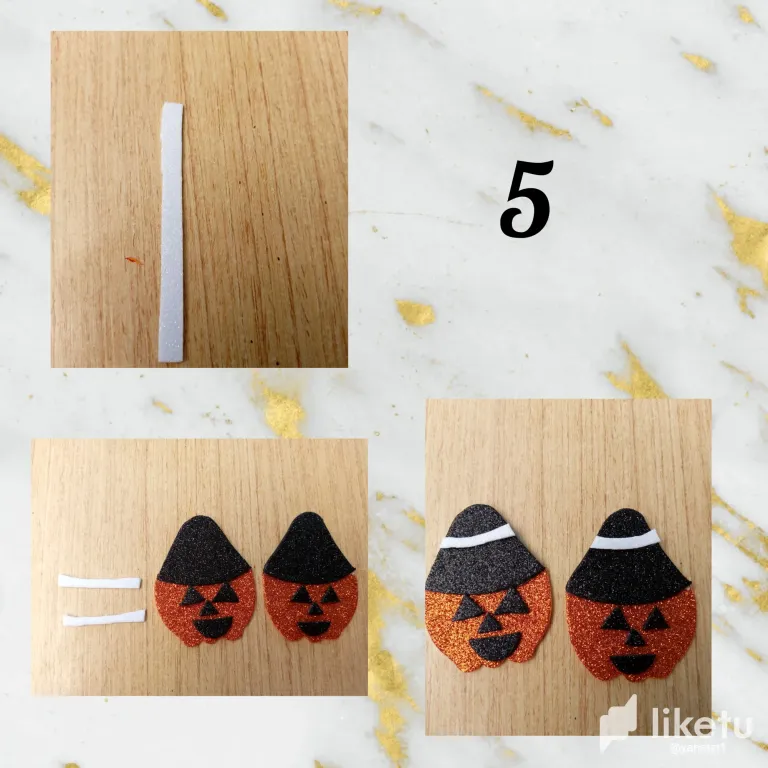
Paso 5
Amigos con dos pequeñas tiras vamos a hacerle al gorrito una forma de correa pero sencilla esta es para que le de un toque mas elegante y llamativo a los zarcillos .
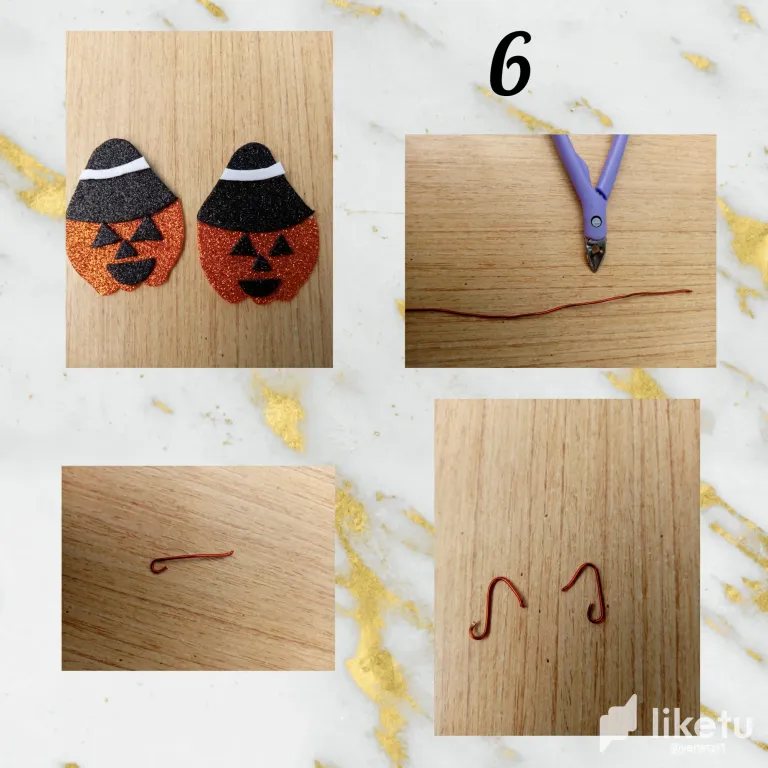
Paso 6
Con el alambre de cobre vamos a cortar con la pinza dos pedazos y estos los vamos a convertir en colgantes de zarcillos esto es para poder ponerse los zarcillos con ganchos .
Son muy faciles de hacer con la pinza solo a realizar un pequeño giro de esta manera y luego con el mismo dedo vamos hacer el giro grande ,y en la parte de arriba del sombrero vamos a hacerle unos pequeños agujeros para poder ponerselos y listo hemos terminado nuestros zarcillos de una manera facil y rapida .
Buenos amigos este es nuestro hermoso resultado espero que sea de todo su agrado de antemano les quiero dar las gracias por Leer y apoyarme feliz dia para todos🎃
Hasta Luego Hivers!
Las imagenes son de mi autoria y fueron tomadas por mi teléfono tecno spark Go.
Traductor utilizado Deelp
Ediciones en canva.
Today I want to show you how to make some cute and easy tendrils made with foamy frosting great to wear at halloween parties.
I have been encouraged to continue creating posts and I tell you that I am really excited about this date in which halloween is celebrated.
The materials used in the elaboration of the Halloween tendrils were the following
Materials:
🎃 Black frosted foamy
🎃 Orange frosted foamy
🎃 Foamy frosted white
🎃 Silicon
🎃 Scissors
🎃 Copper wire
🎃 Tweezers
LET'S GET STARTED!
Next step by step:
Step 1
The first thing we are going to do is to take the foamy frosted orange color along with the pencil and with something circular we are going to go marking the half circle and then we are going to go cutting little by little then after this way it is going to be our first step for the elaboration of our halloween tendrils.
Step 2
Well now having already our shapes cut out with orange frosted foamy in this way.this tecniza is very always that we cut the first figure of anything that will serve us to get the other of the same shape and size.
Step 3
Then with the black frosted foamy we are going to make the shape of the pumpkin's hat.
Step 4
Now what we will do with the black frosted foamy the parts of the eyes the nose and the mouth we will cut with the scissors two triangles the smallest ones these will be for the part of the eyes then after having them termida we begin making another triangle but much smaller that is for the nose of our pumpkin and at the end we will only make the mouth in the form of half moon but lying down and thus will be part of our beautiful tendrils of halloween.
Step 5
Friends with two small strips we are going to make the hat a strap shape but simple this is to give a more elegant and striking touch to the tendrils.
Step 6
With the copper wire we are going to cut with the pliers two pieces and these we are going to turn them into pendants of tendrils this is to be able to put on the tendrils with hooks.
They are very easy to do with the tweezers just to make a small twist in this way and then with the same finger we will make the big twist, and at the top of the hat we will make some small holes to put them and ready we have finished our tendrils in an easy and fast way.
I hope you like our beautiful result and I want to thank you in advance for reading and supporting me happy day to all🎃
See you later Hivers!
The images are my own and were taken by my tecno spark Go phone.
Translator used Deelp
Editions in canva.
For the best experience view this post on Liketu
Congratulations @yanetzi1! You have completed the following achievement on the Hive blockchain And have been rewarded with New badge(s)
Your next target is to reach 90 posts.
You can view your badges on your board and compare yourself to others in the Ranking
If you no longer want to receive notifications, reply to this comment with the word
STOPTo support your work, I also upvoted your post!
Check out our last posts:
Muy creativo amiga . Éxitos!
Muchas gracias amiga igual para ti 😊
Lovely earrings. You shouldn't wear it at night, haha.
Thank you for entering the contest. Good luck.
Te quedaron bellos saludos .
Muchas gracias amiga
Muy lindos .