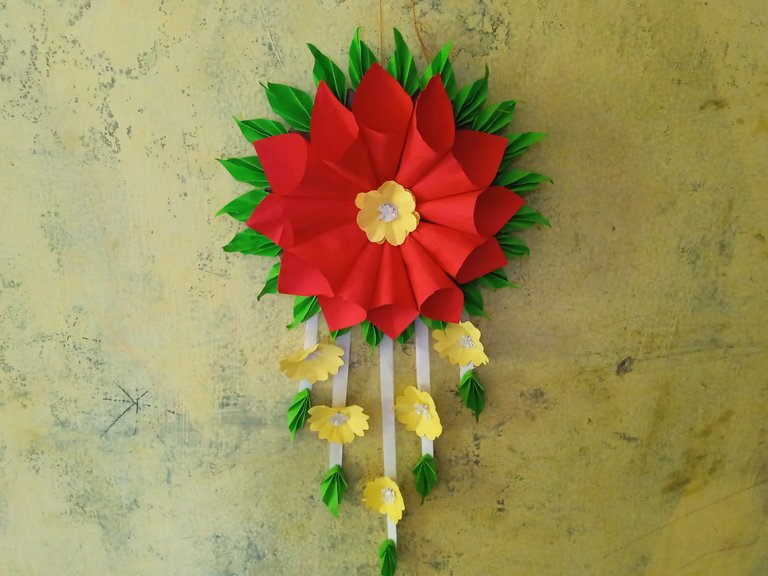
How to make a flower collection on the wall
Hello all friends in this beloved community. On this occasion I would like to invite wall connection friends. What's beautiful is that using origami paper is very easy, we only need to prepare a few materials such as origami paper, scissors, glue and cardboard.
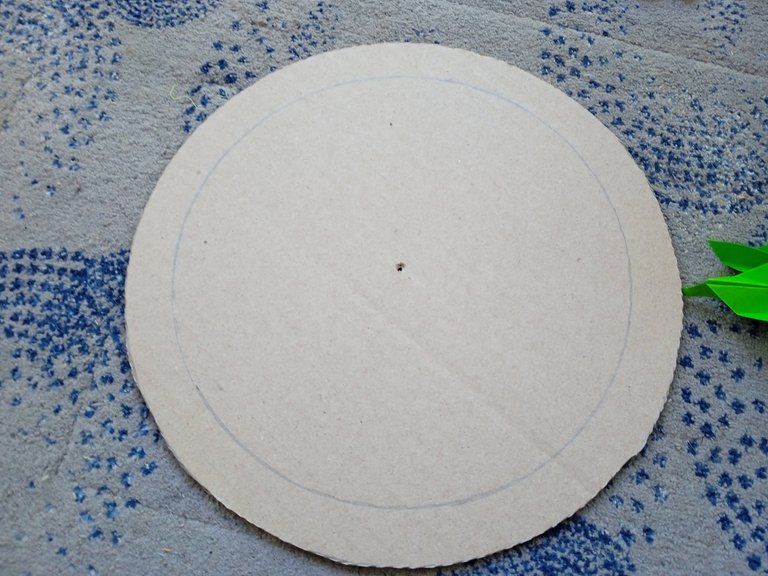
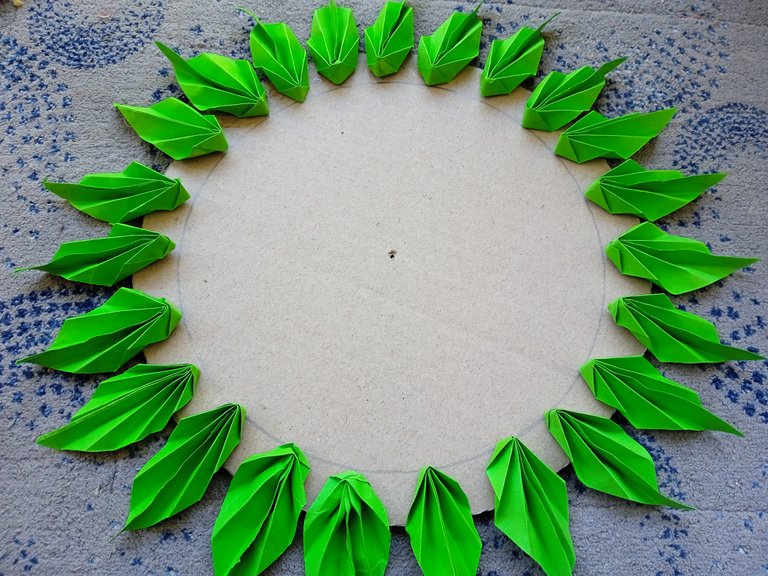
How to make it is very easy, first we cut the cardboard into a round shape, then we put a line on the edge so that it is neat and parallel when we stick it later.
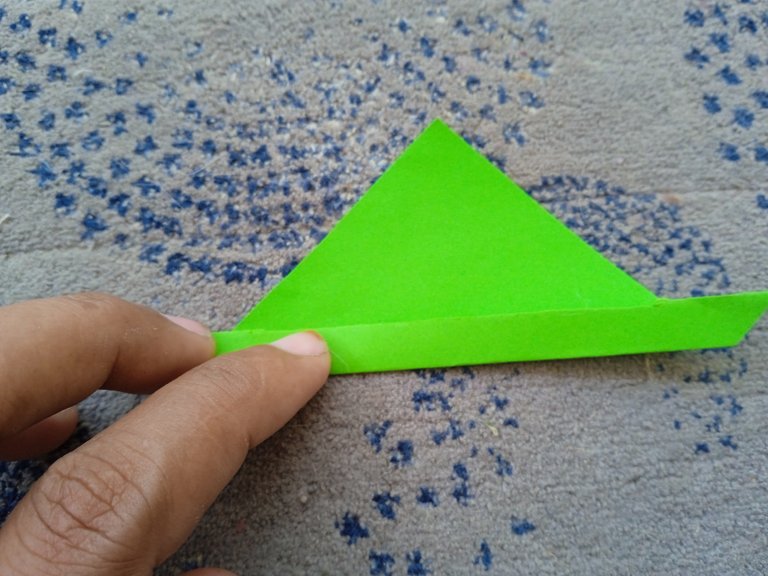
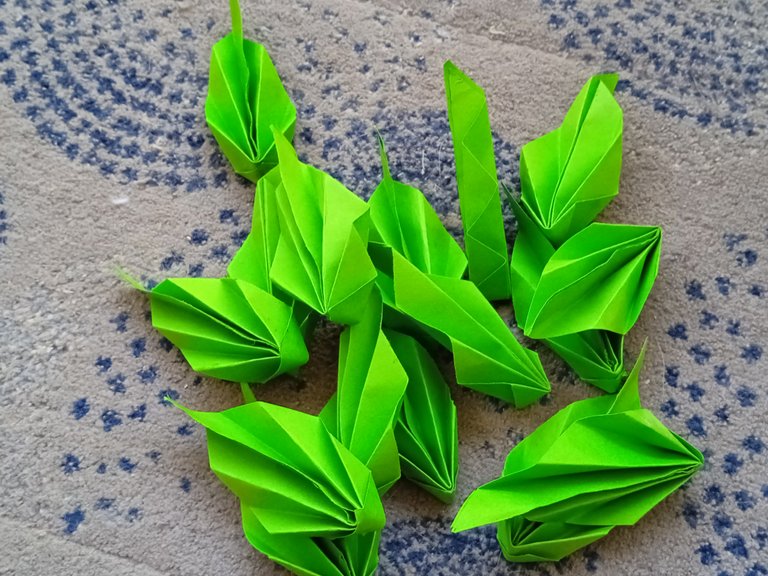
After that, we prepare origami paper, I used green and friends can also use other colors besides green, according to their individual tastes.
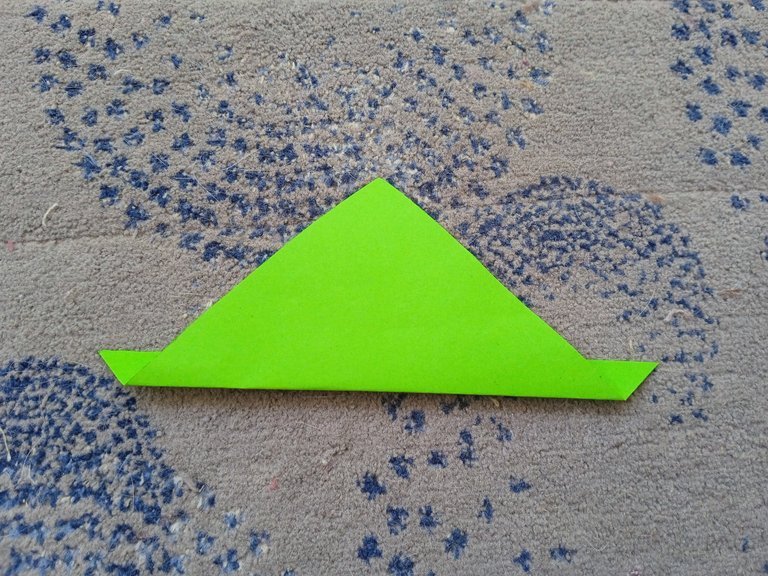
First, we fold the origami paper into a triangle shape and then cut it.
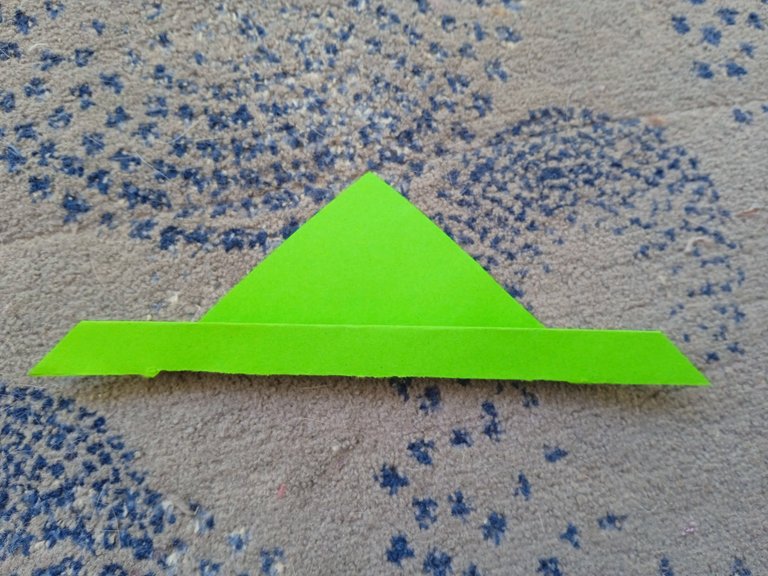
Then fold the origami paper like the picture I have shown below

Then we turn the origami paper over and fold it again, and so on until we get to the end.
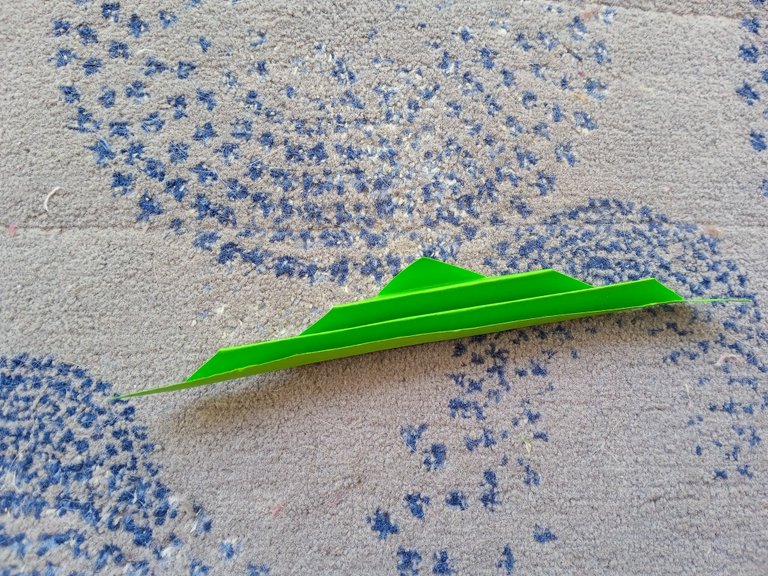
Then we put glue on the long part and then we fold it in half.
Until it became like this.


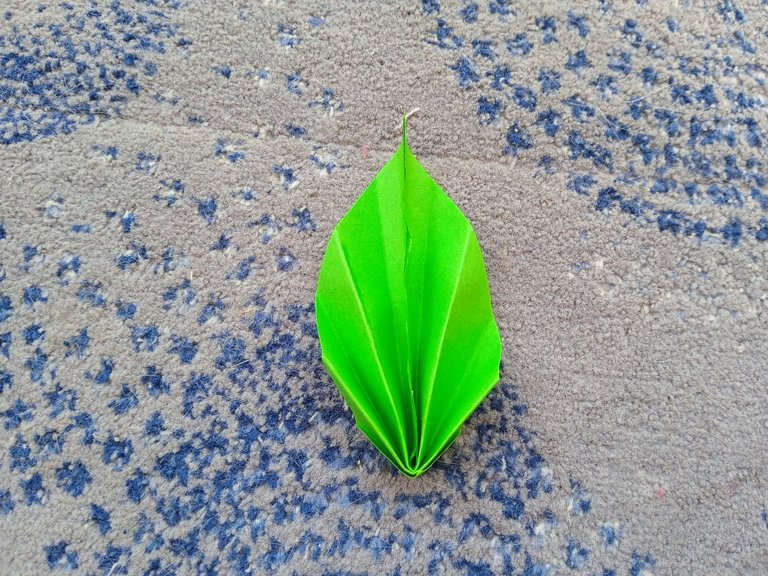
Make it into several parts. And we can't determine how many pieces there are because according to the size we make, if it's small, we don't have to make a lot, but when we stick it, make sure it's full, if it's not enough, you can add more.
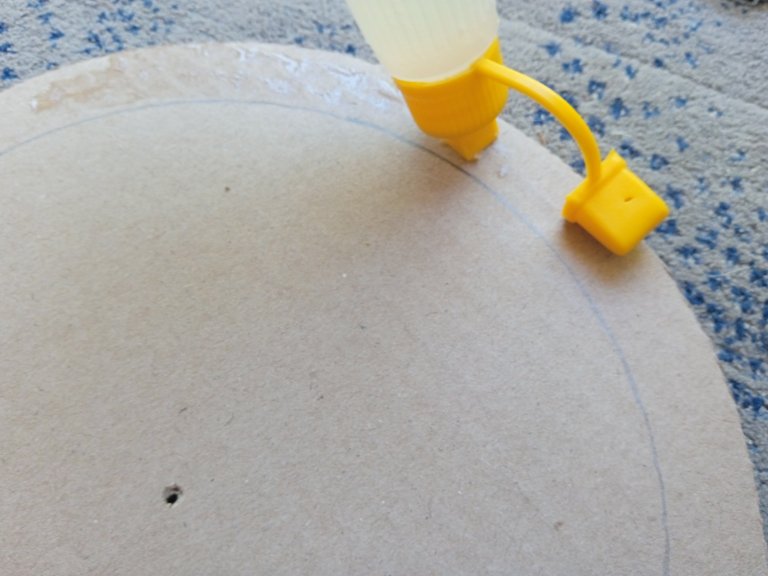
Then we smear glue on the top of the line that we outlined earlier, then stick the finished origami paper to the edge until it is full.
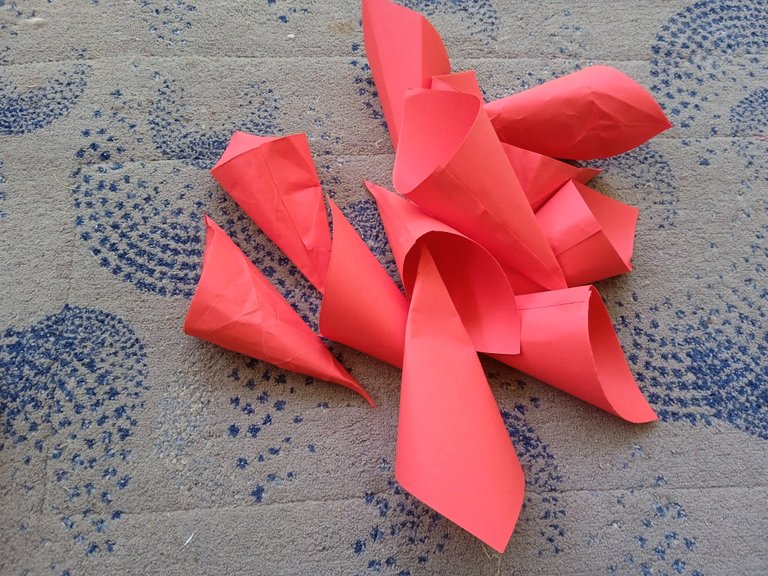
The second step is that we take origami paper of another color and that too according to our individual tastes, friends. But I chose red and to make it I used a piece of origami paper measuring 16 cm * 16 cm and divided it into 4 parts.
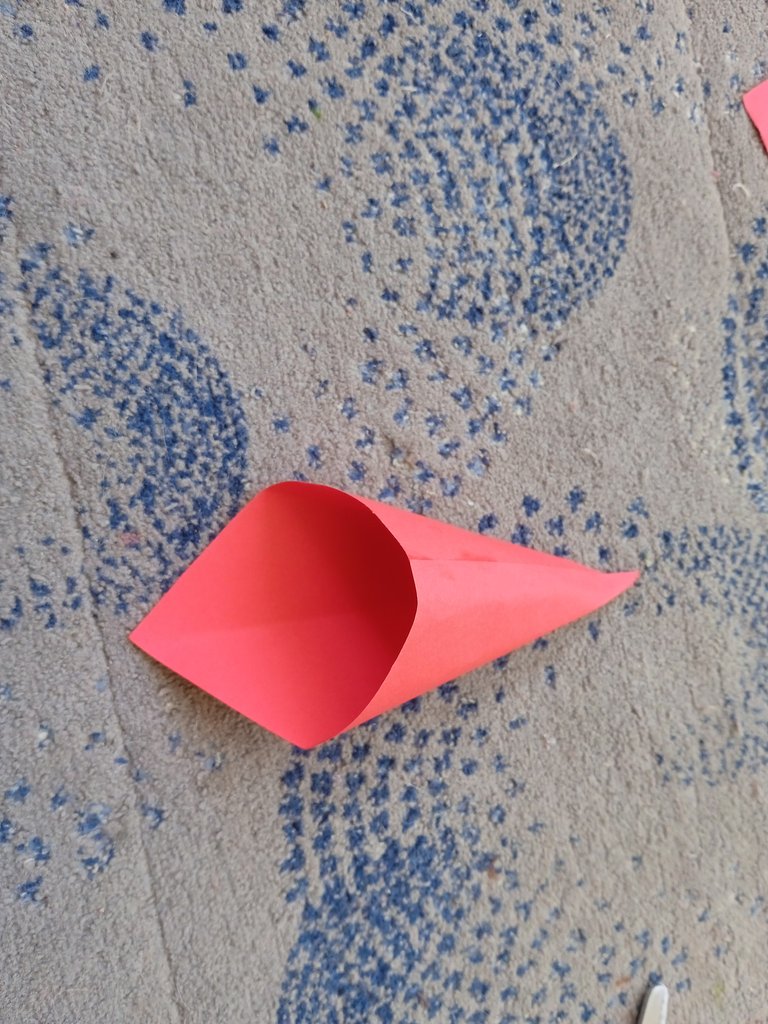
Take one part, make it like the picture I attached below.
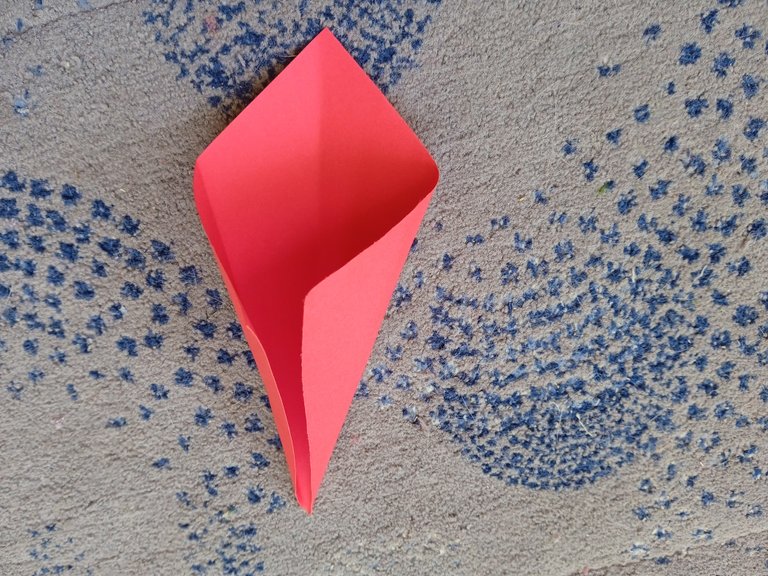
Then we smear it with glue so that it sticks and doesn't open.

Make up to 12 parts.
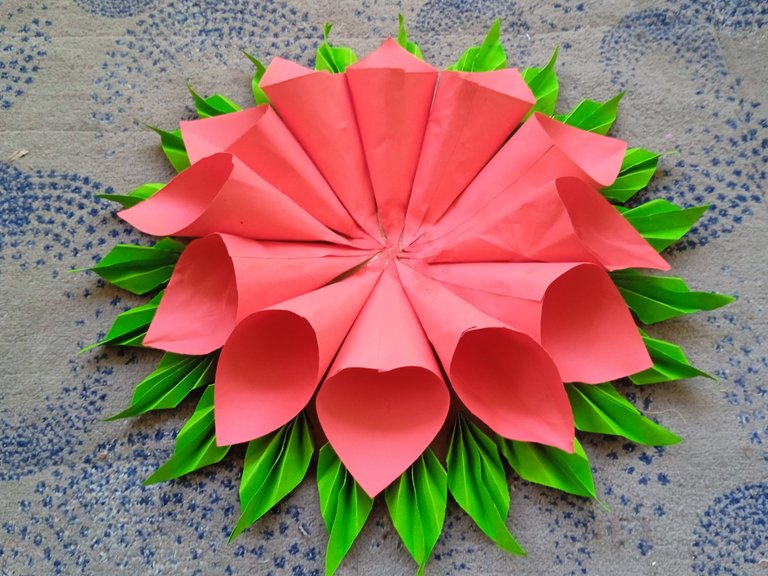
Then we stick it on the cardboard that we have given with green edges and we stick this red color in the middle like the picture I have pasted below.
The third step, take another colored paper, I took yellow and then we cut it into a round shape.
Our glory is doubled
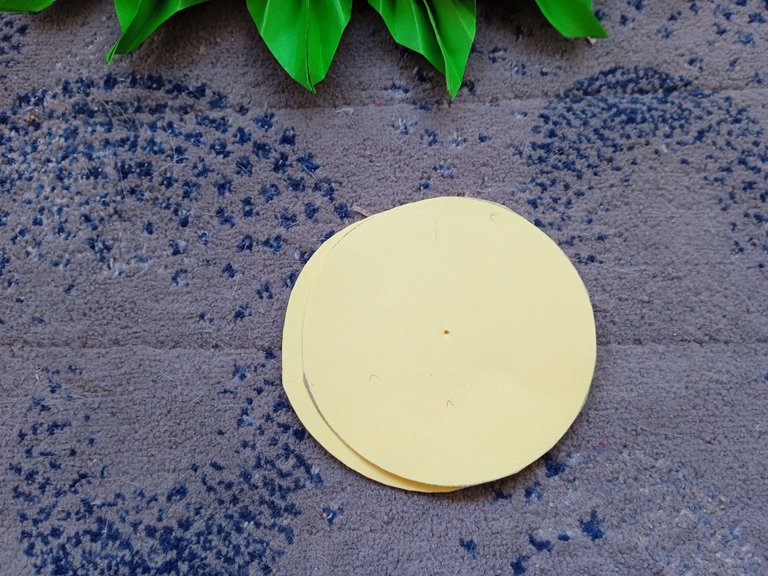
After that we fold it again and again until it is tripled.


Make a picture like the picture below
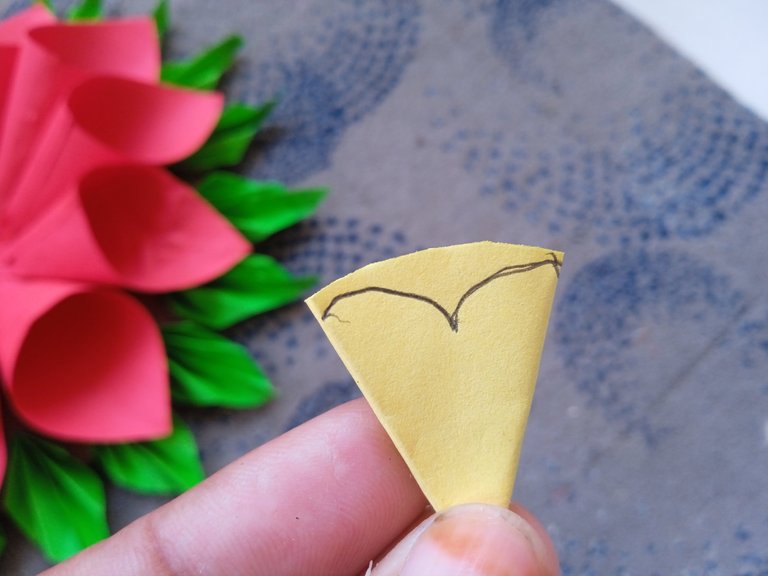
Then cut above the image line
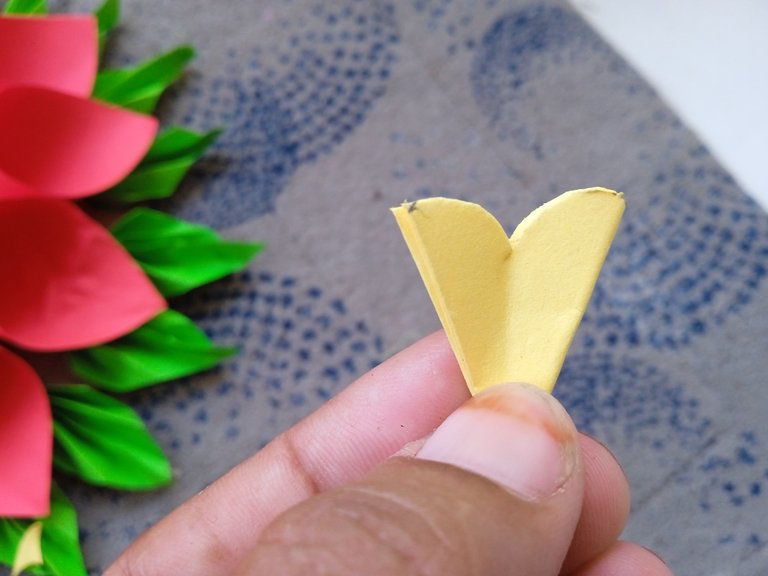
Then open the fold

After that, cut all the way to the middle
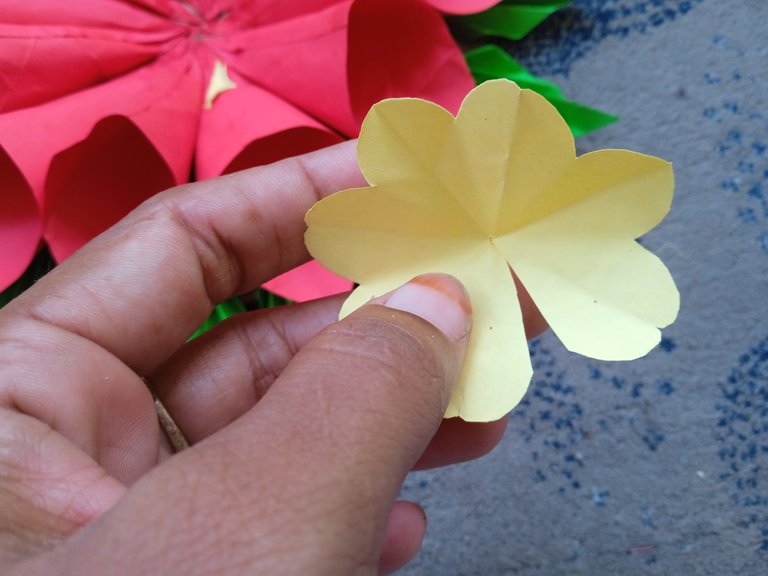
Then apply glue to the part that was cut out, then overlap it again until it is shaped like a flower

The next step is to attach the yellow flower to the middle of the circle of the half-finished wall collection that we made until it looks like the picture below.

The next step for the bottom is that we take another piece of paper, we cut it into a long shape like the picture I show, I took it white


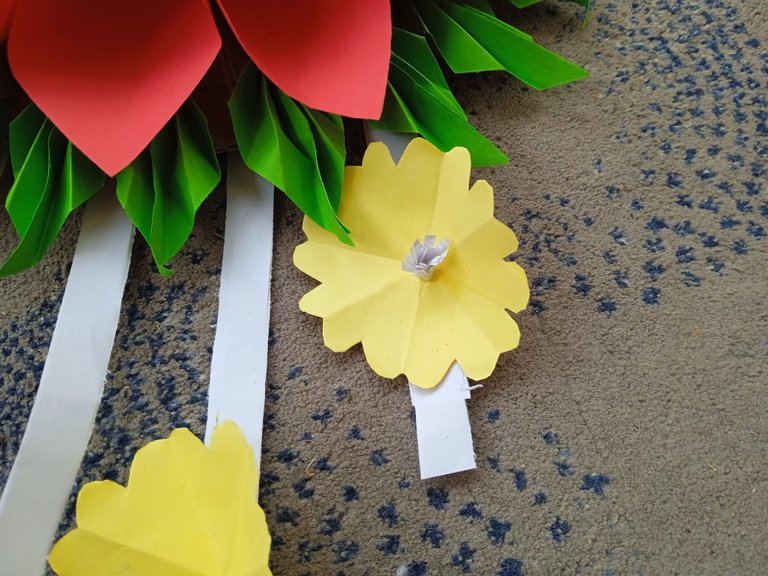
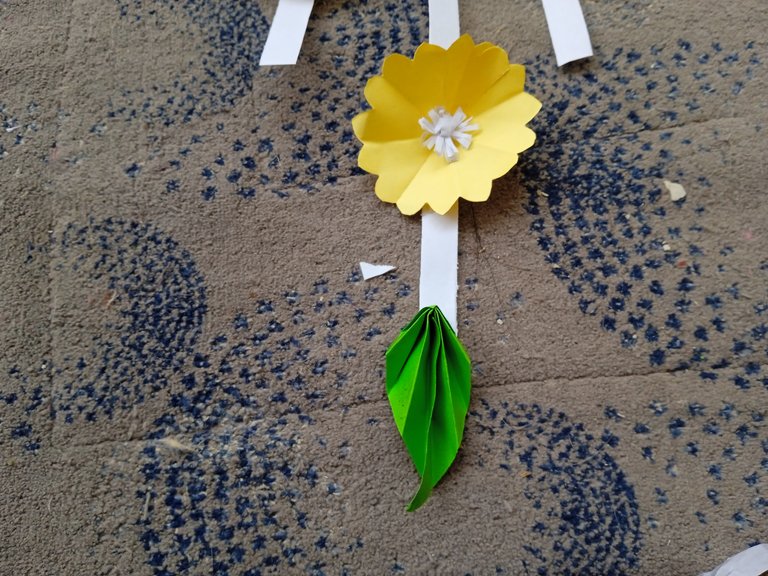
Then we stick 5 strands behind it, but the bottom is not parallel. I use the middle one which is longer and the left and right ones go up a little then up again.
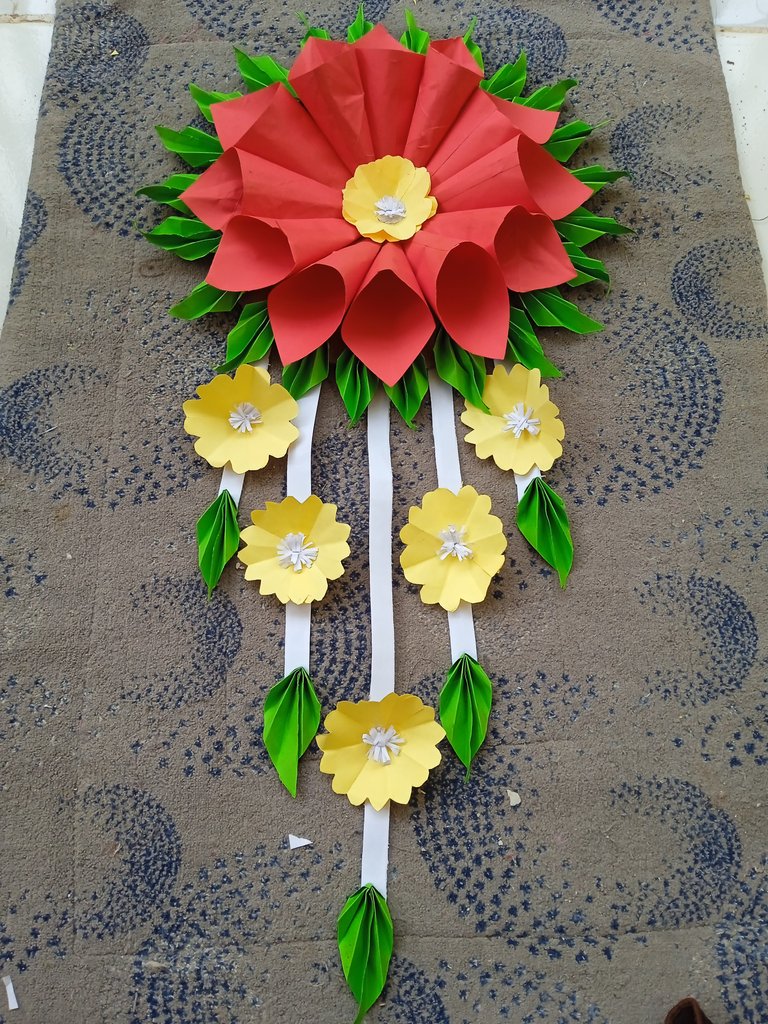
After that, we turn it over and paste it again on the white paper with yellow flowers and at the end with green.
And the results are like the image below.
Good luck trying, good luck. I would like to say thank you very much to the friends who have visited my post, I hope you like it. See you in the next post.
!discovery 30
!diy
This post was shared and voted inside the discord by the curators team of discovery-it
Join our Community and follow our Curation Trail
Discovery-it is also a Witness, vote for us here
Delegate to us for passive income. Check our 80% fee-back Program
You can query your personal balance by
!DIYSTATSThat is a really nice piece of decoration on the wall. Well done
Thank You.
que lindo quedo!
so cute!