Vampiric- Splinterlands Art Contest Week 289! [ENG/ESP]
Vampiric! 🍀
Happy night alien community! 👽
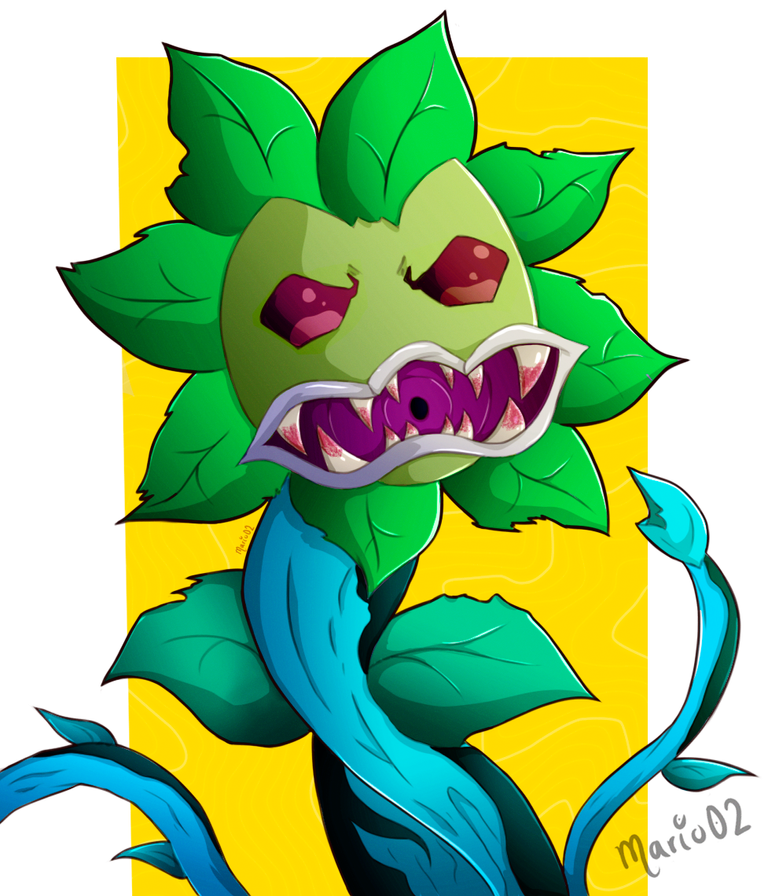
I hope you're all feeling well, finally I want to share a new illustration I've been working on these last few days for the @splinterlands art contest this week, choosing to make my own version of the character Vampiric. To tell you the truth I had a great time making this colourful character and I'm very happy with the final result. To tell you the truth I had a great time making this colourful character and I'm very happy with the final result, I hope you like it and next I'll tell you a bit more about my process to make this illustration. Let's get started! 😃
¡Feliz noche comunidad de aliens! 👽
Espero que se encuentren muy bien todos ustedes, finalmente quiero compartir una nueva ilustración en la que he estado trabajando estos últimos días para el concurso de arte de @splinterlands de esta semana, eligiendo realizar mi propia versión del personaje Vampiric. A decir verdad me la pase muy bien realizando a este colorido personaje y estoy muy contento con el resultado final, espero les guste y a continuación les contare un poco mas sobre mi proceso para llevar a cabo esta ilustración. ¡Comencemos! 😃

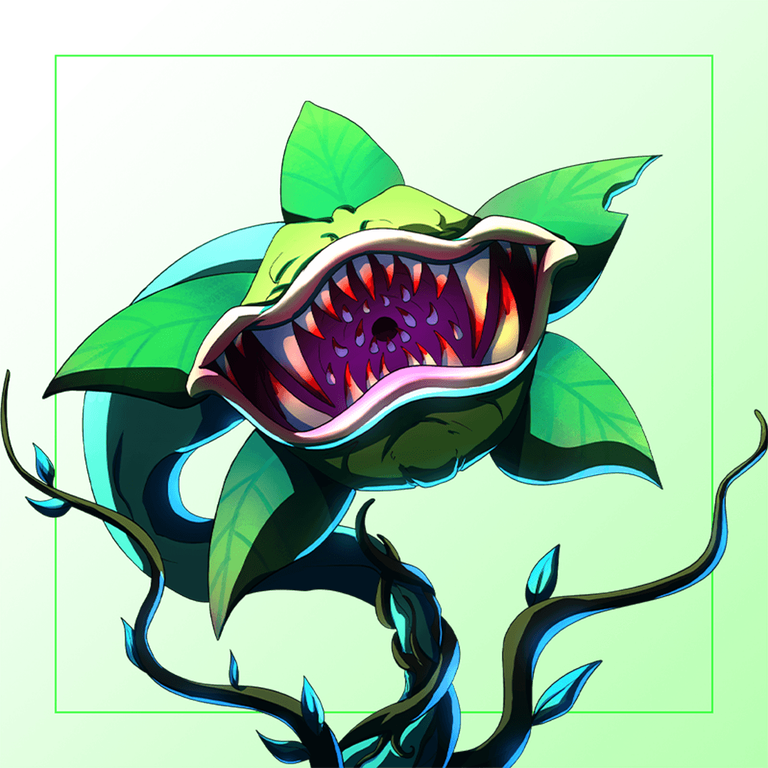
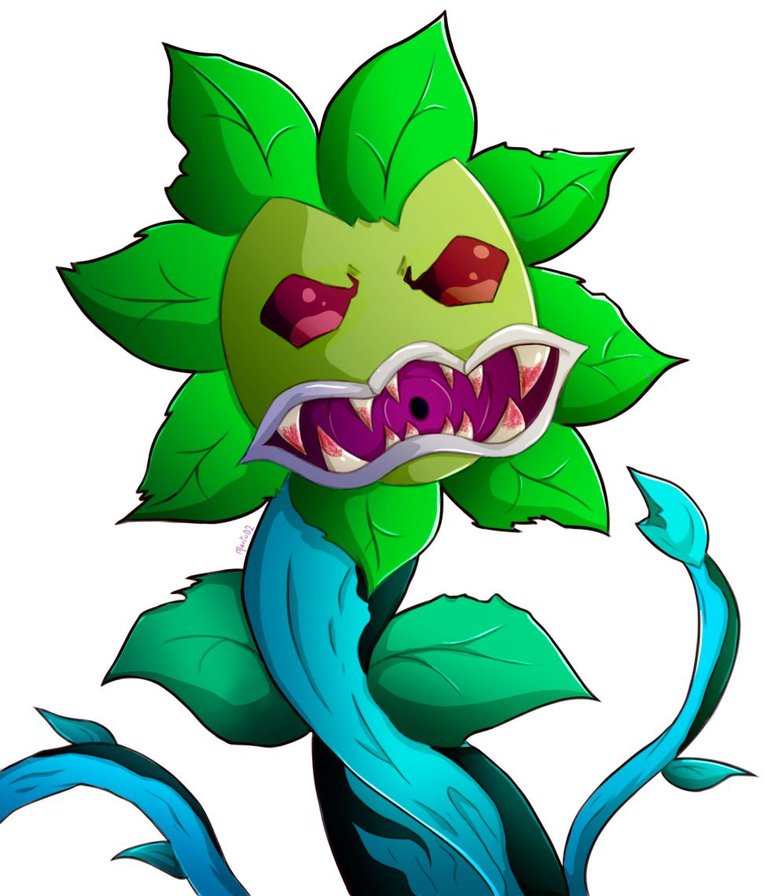
REFERENCE
Creative Process | Proceso Creativo💡
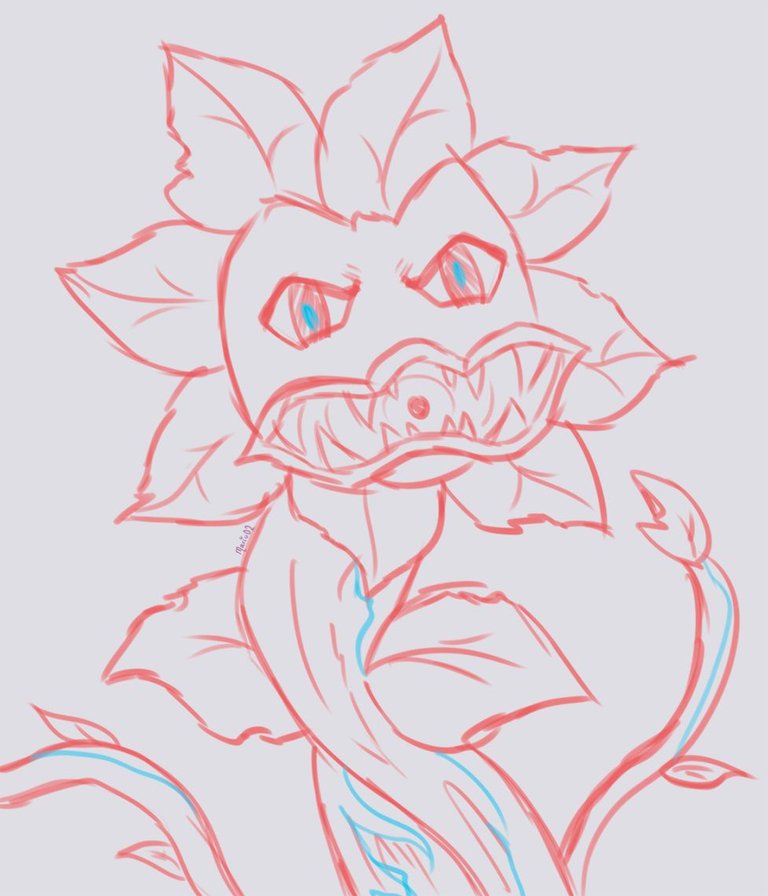
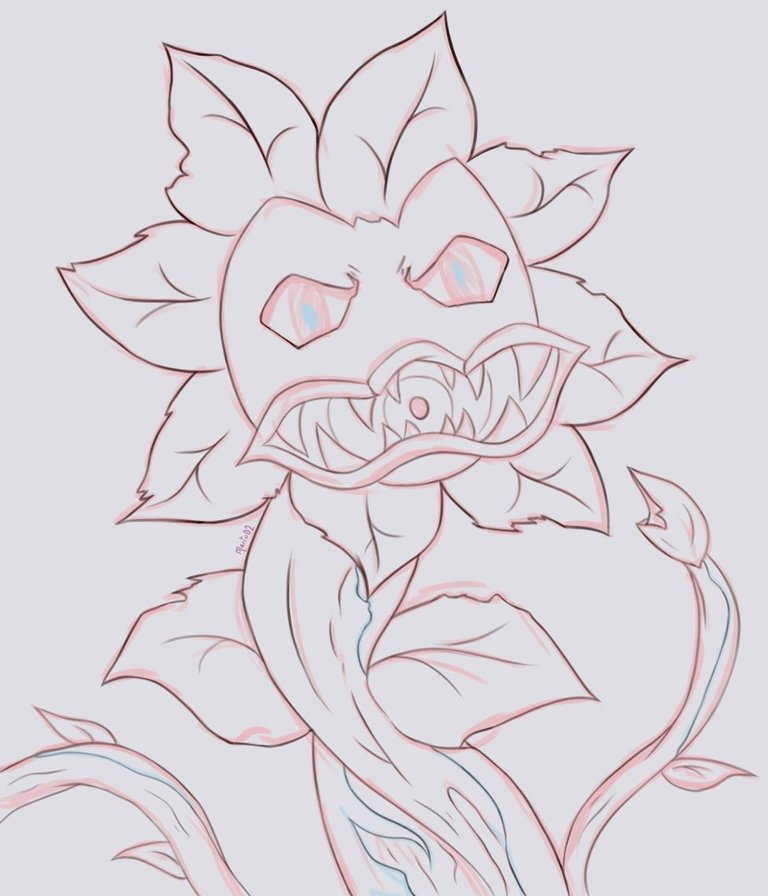
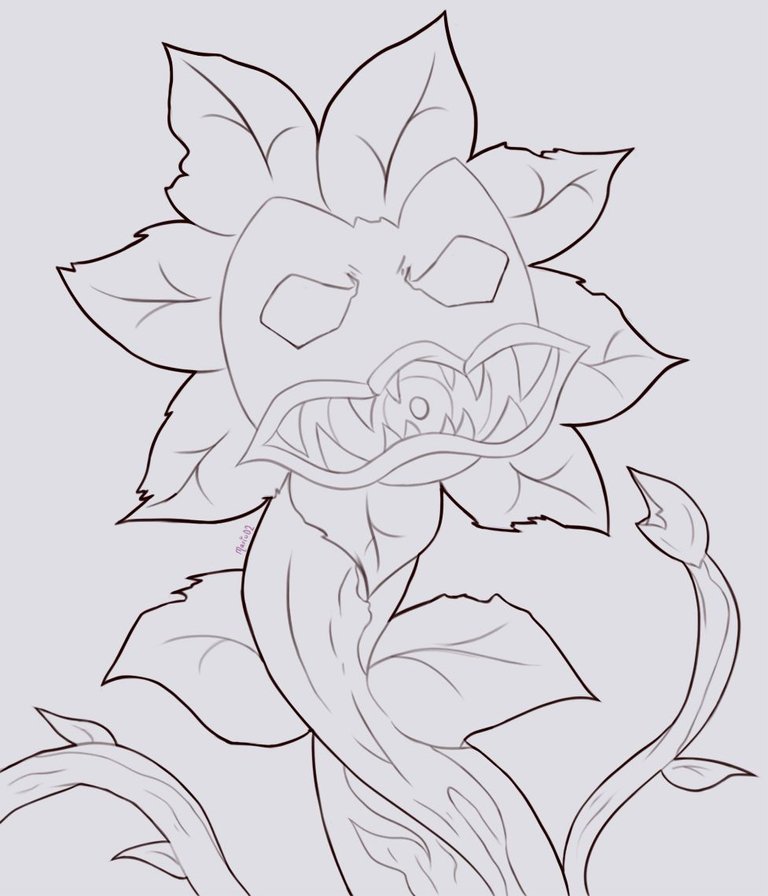
To begin with I would like to tell you that my idea was clear from the beginning, as it was a character with a lot of details my idea was to try to simplify it and make it with a more friendly tone for everyone, with this clear I started to work on the sketch, a big brush was a great help to define the lines without giving so many details. Once I had my sketch ready I lowered its opacity and started working on a lineart to clean and define the lines of the character.
Para comenzar les comento que mi idea desde el inicio la tenia algo clara, al tratarse de un personaje con bastante detalles mi idea era tratar de simplificarlo y hacerlo con un tono mas amigable para todos, con esto claro comencé a trabajar en el boceto, un pincel grande me fue de gran ayuda para definir las líneas sin dar tantos detalles. Una vez tenia mi boceto listo baje su opacidad y comencé a trabajar en un lineart para limpiar y definir las líneas del personaje.
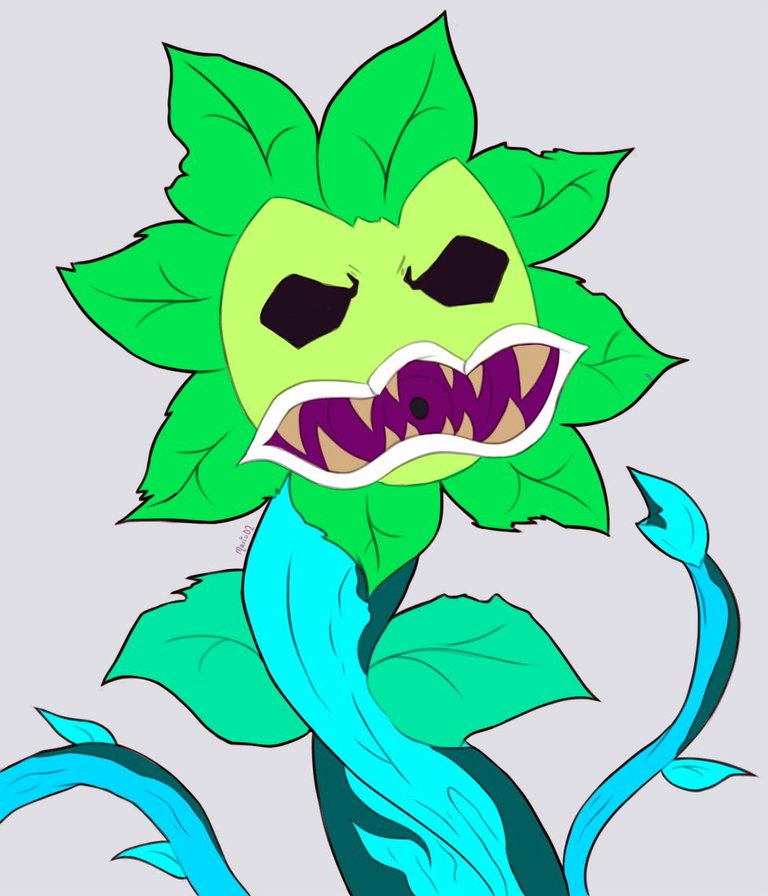
With the lineart ready I went to work on the application of the base colours, first I put together a colour palette very similar to the one in my reference making some changes in the colours of the branches for more blue tones. Once the base colours were in place, I applied a new layer with some general shadows to place the direction of the lighting and to start giving some volume.
Con el lineart listo pase a trabajar en la aplicación de los colores base, primero arme una paleta de color muy similar a la de mi referencia haciendo algunos cambios en los colores de las ramas por tonos mas azules. Una vez colocados los colores base, aplique una nueva capa con algunas sombras generales para ubicar la dirección de la iluminación y para empezar a dar algo de volumen.
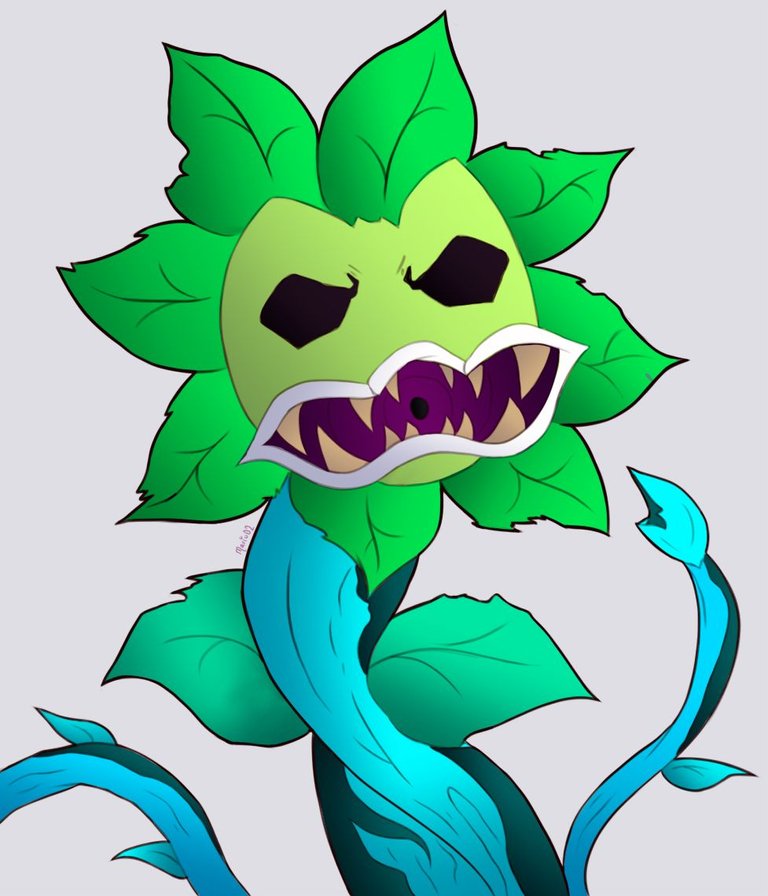
I continued working on a new layer, in it I started to apply the hard shadows to the character, following the direction of the soft shadows I did previously. Once I applied the shadows I started to add the highlights in the same way, adding also some "little shines" in white to highlight the most illuminated areas of the character.
Finally I used a brush with some texture to add some blood to the character's fangs following the design of my reference image.
Seguí trabajando en una nueva capa, en ella comencé a aplicar las sombras duras al personaje, siguiendo la dirección de las sombras suaves que hice previamente. Una vez aplique las sombras comencé a agregar las iluminaciones de la misma manera, agregando también algunos "brillitos" en color blanco para resaltar las zonas mas iluminadas en el personaje.
Por último utilice un pincel con algo de textura para agregar algo de sangre a los colmillos del personaje siguiendo el diseño de mi imagen de referencia.

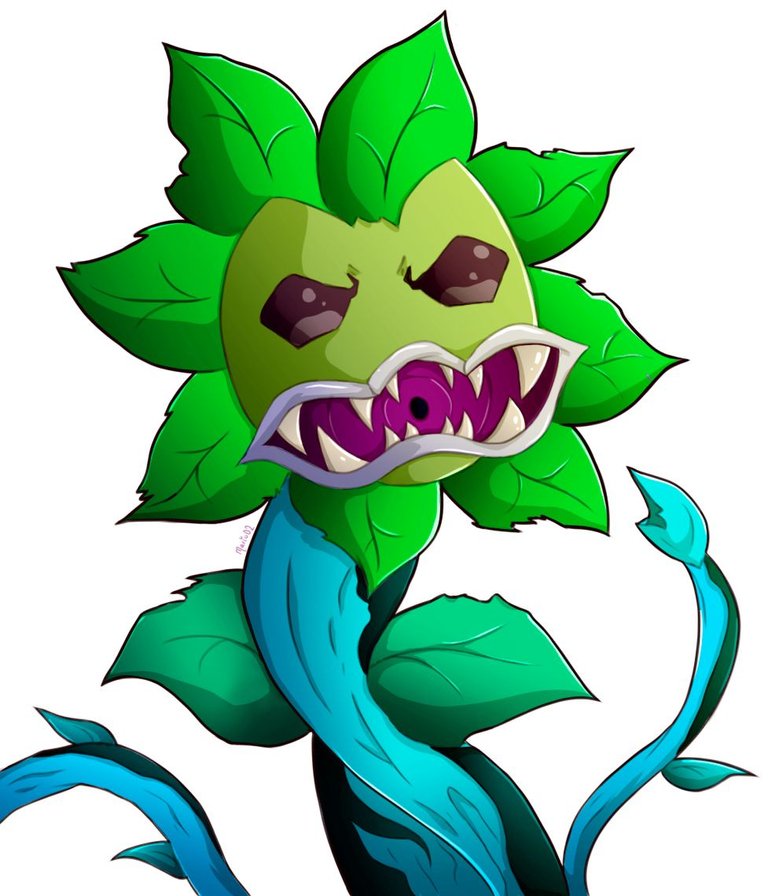
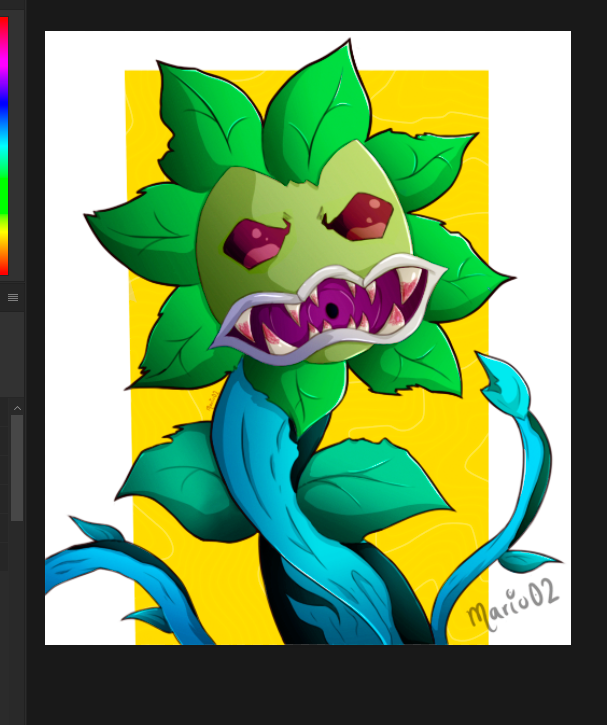
Finally I added a small yellow rectangle to complement the background of the illustration. I also made some adjustments to the saturation of the colours.
Thanks so much for watching and see you next time! 🙏
Para finalizar agregue un pequeño rectángulo de color amarillo para complementar el fondo de la ilustración. También hice algunos ajustes en la saturación de los colores.
¡Muchas gracias por ver y hasta la próxima! 🙏
Tools Used | Herramientas Utilizadas:
- Photoshop CC versión 64 bits
- Tablet Huion H610 PRO V2

The illustration and separators used in the post are my property.
Translated with DeepL (free versión)
El personaje me recuerda mucho a las plantas mutantes del Fallout New Vegas, tiene un aspecto feroz en verdad.
Buen diseño.
Checkout our BDVoter Daily Hive Showcase & Participate into our Daily giveaway to win various prize.