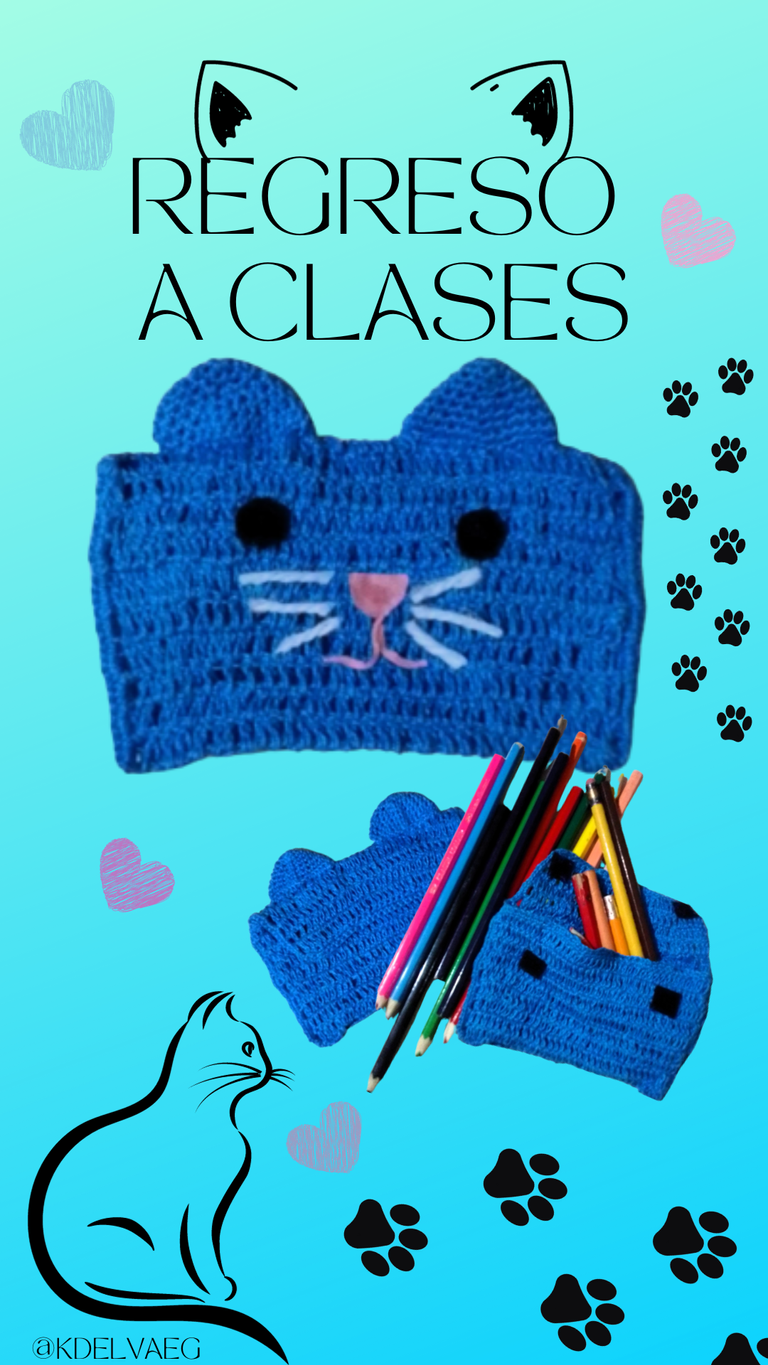
(ENG/ESP) 🐱 Contest: Back to school with a handmade pencil case. 🔴🟢 Concurso: Regreso a clases con cartuchera hecha a mano.


Hello my dear readers, I hope you are well and that you have or had an excellent day. It's a pleasure for me to participate in this new contest provided by @hivediy friends, here I leave you the link to the Contest for those who want to join, but do hurry, because the deadline is until October 31st.
I would like to take this opportunity to invite @gaboamc2393 and @marbella74 to be part of this contest. I tell you that when I was little and I was at school, my parents didn't have the money to go around buying school supplies like bags and pencil cases and all the things that kids take to school nowadays. I was lucky enough to have a mother who was a sewing teacher and she was the one who did all that for us.
The bag I was carrying was made of fabric made by my mother, as were the pencil cases, and the truth is that it had nothing to envy to those of the other children. I was very excited about my mother's school supplies. I also remember that later she taught me how to crochet and macramé, and I knitted myself a bandolier bag and even made a strap, all my classmates loved it and even asked me to make them some.
Nowadays children only want to have material things bought and with images alluding to their favourite characters. We have to teach them that they can also use handmade tools and that they have the same value as a bought one.
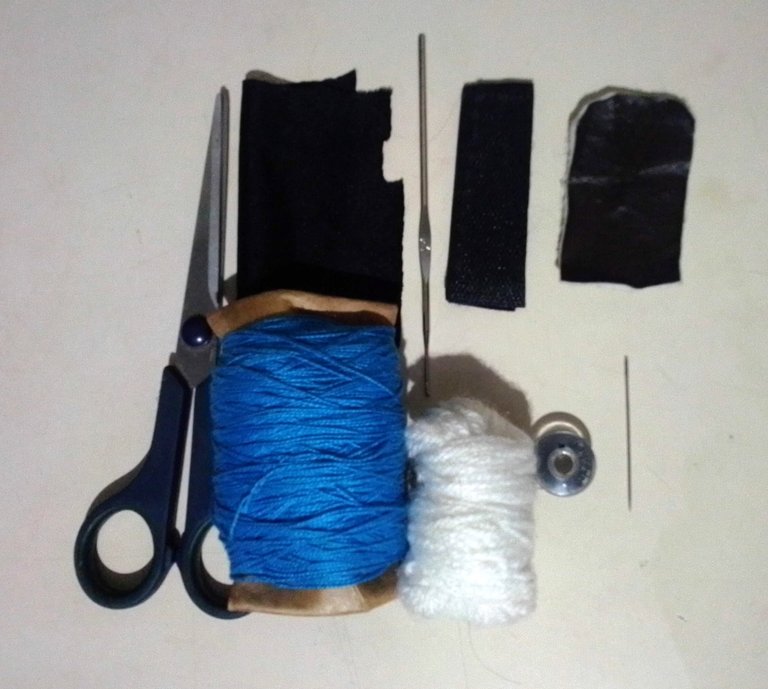
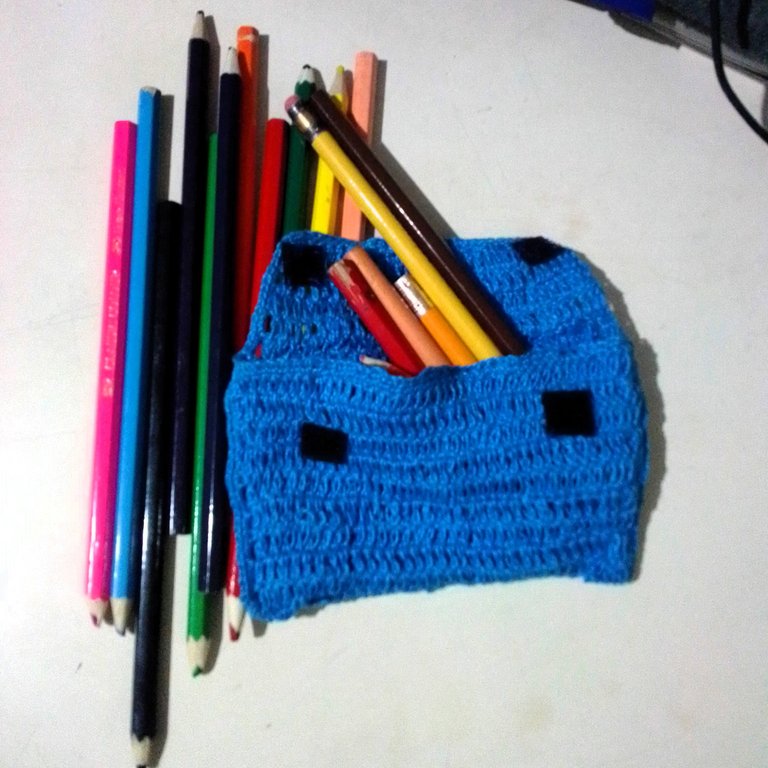
Today I want to show you the step by step of how to make a pencil case, with useful material, material that I have left over from other jobs, therefore, I haven't spent any money on it. Without further ado I show you the steps.
STEP BY STEP:
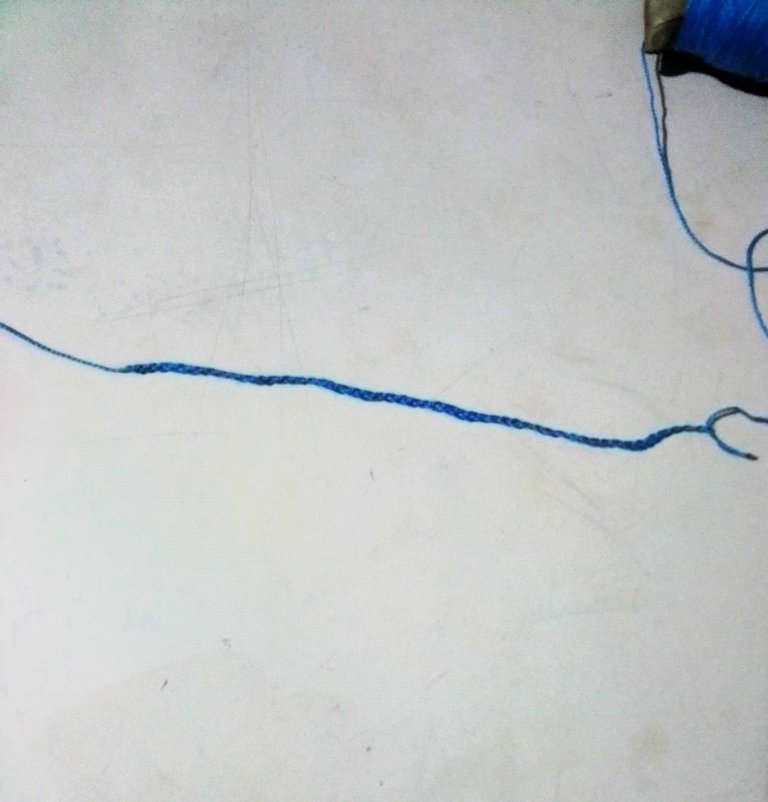
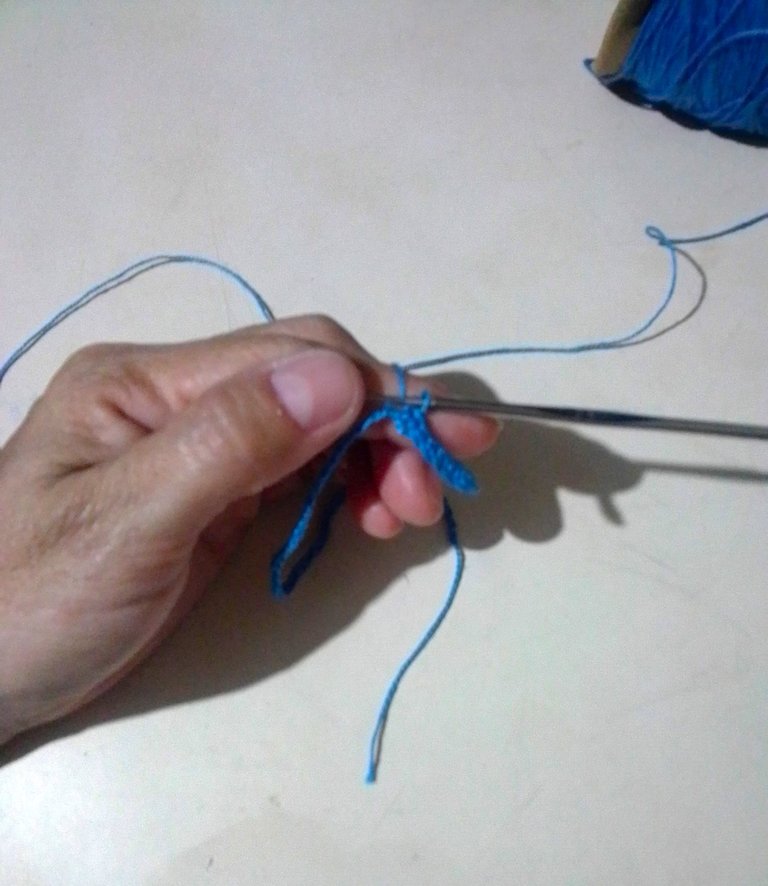
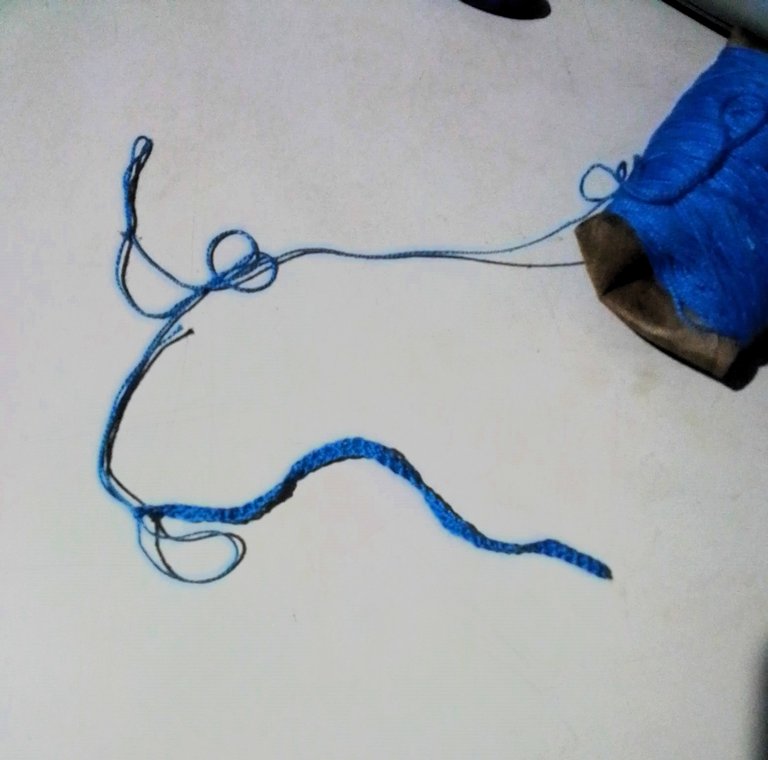
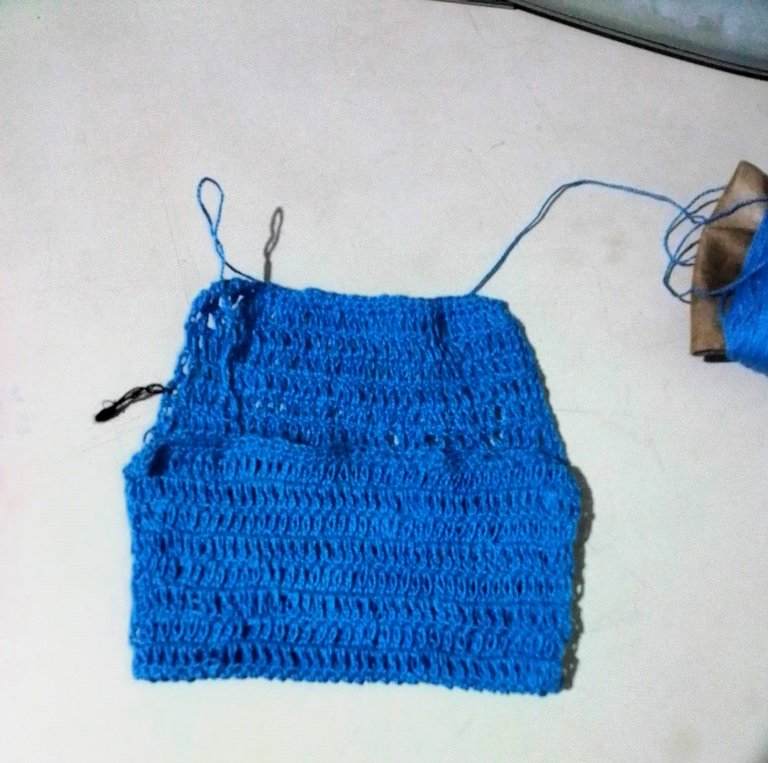
To make this work, I used two basic stitches which are: the stockinette stitch and the double crochet. I started by making about 50 chains and for the 2nd and 3rd rows I made single and double crochet.
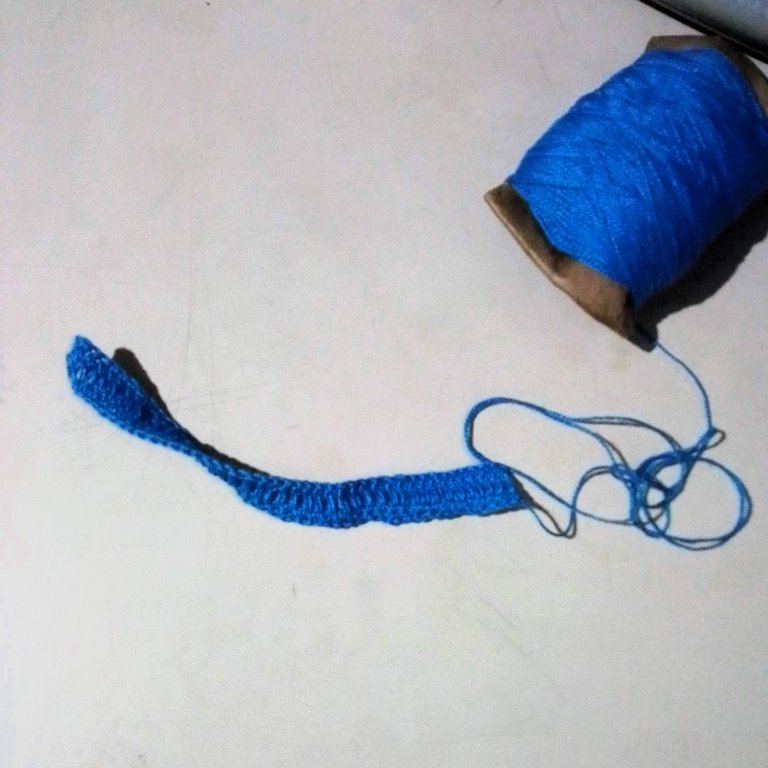
After knitting the single crochet, I will knit 50 double crochet stitches.

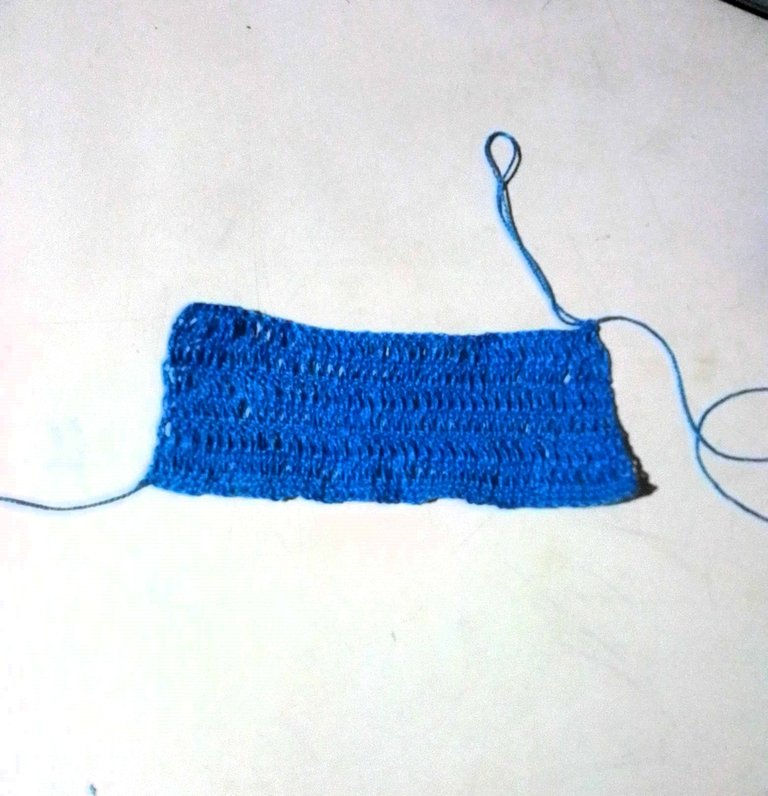
I will continue to knit only double crochet until 20 rows of double crochet stitches are completed. The desired size to make the fold where I will keep the colours.
 |  |
|---|
 |  |
|---|
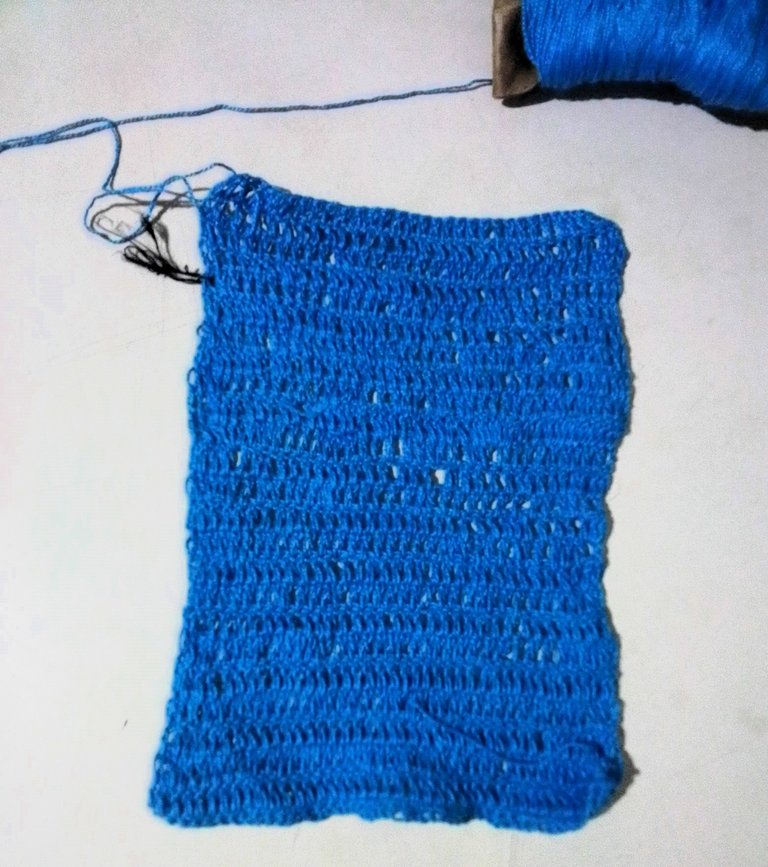
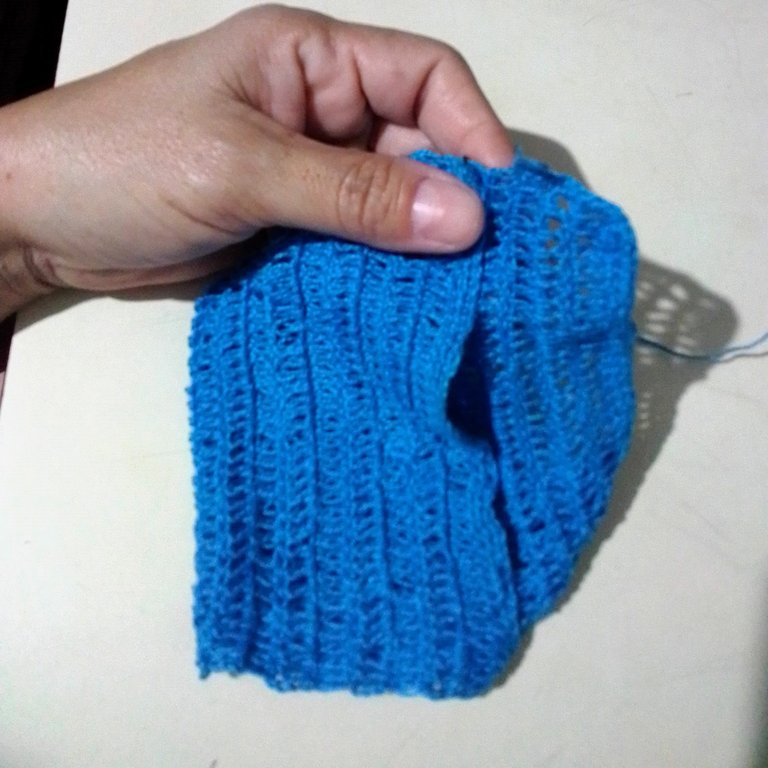
As you can see in the picture, I made a mark to know where I will make the fold. I continue knitting in double crochet for 6 more rows. And then I finish with two rounds in single crochet, decreasing one stitch in each corner.

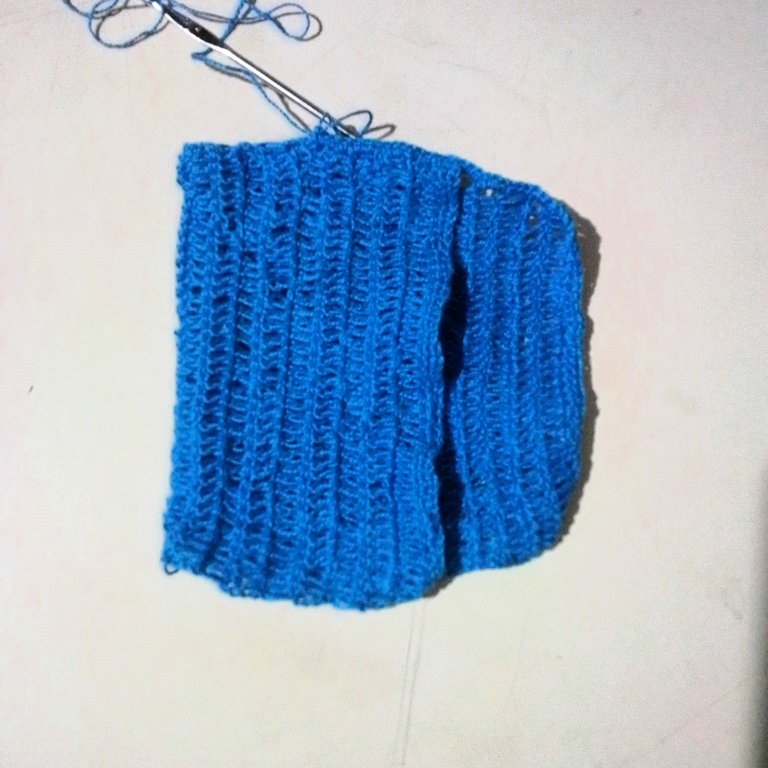
Once the lapel is finished, I'll knit the whole way around. And I'll continue to the end, knitting carefully on the part where the folded part goes. And I do the same procedure on the other side.

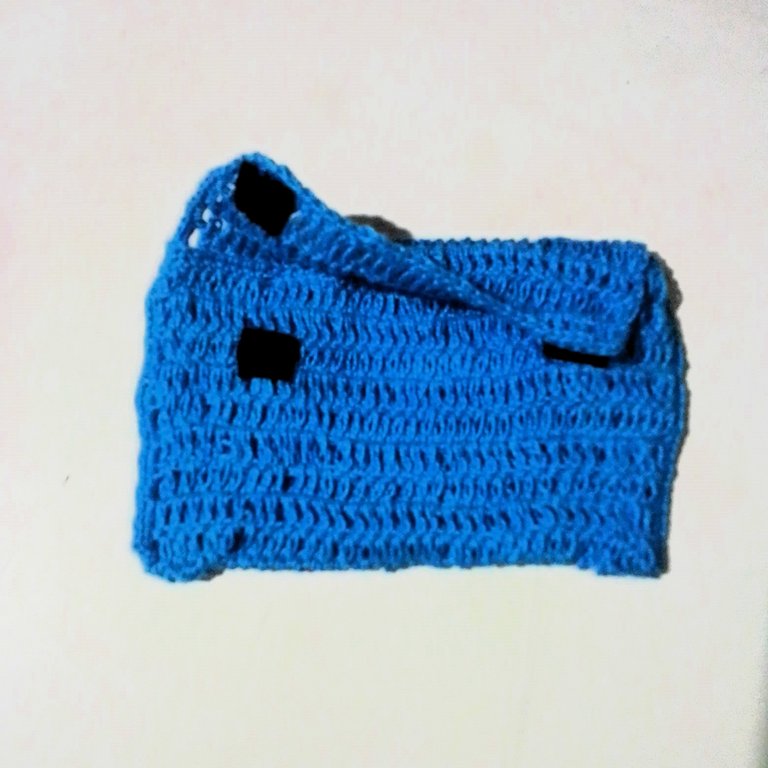
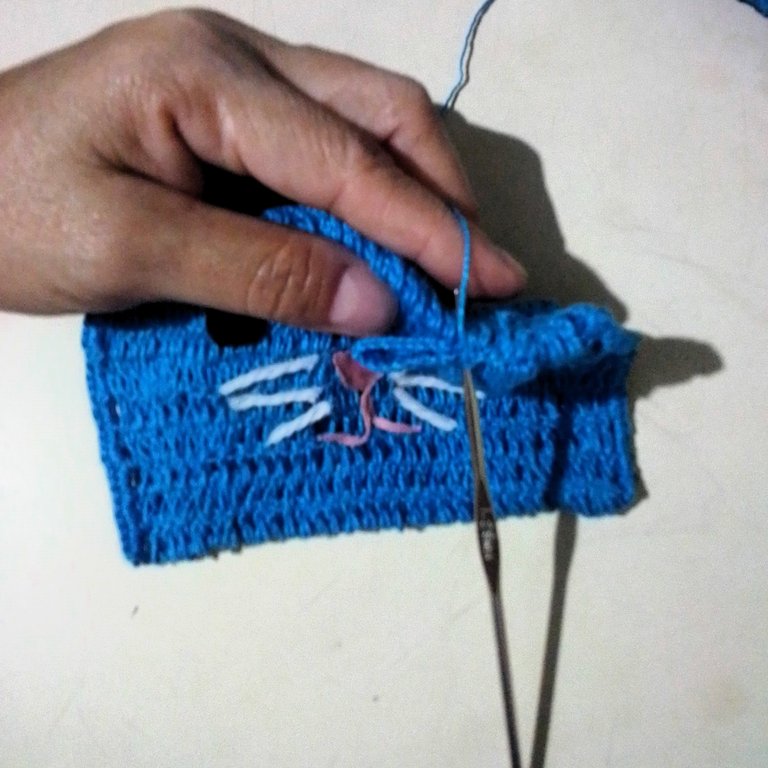
Once all the fabric is ready, I proceed to place the magic fastener (velcro or contact fastener, as they say in other countries) on the ends of the flap and sew it with the needle. As shown in the picture.

Now I make the face of the cat and I will do it with the scraps of black fabric, which I cut out two circles for the eyes. With the pink fabric I cut out the nose and a thin strip to make the mouth. And with the white yarn I made the whiskers, as you can see in the picture.
 |  |  |
|---|
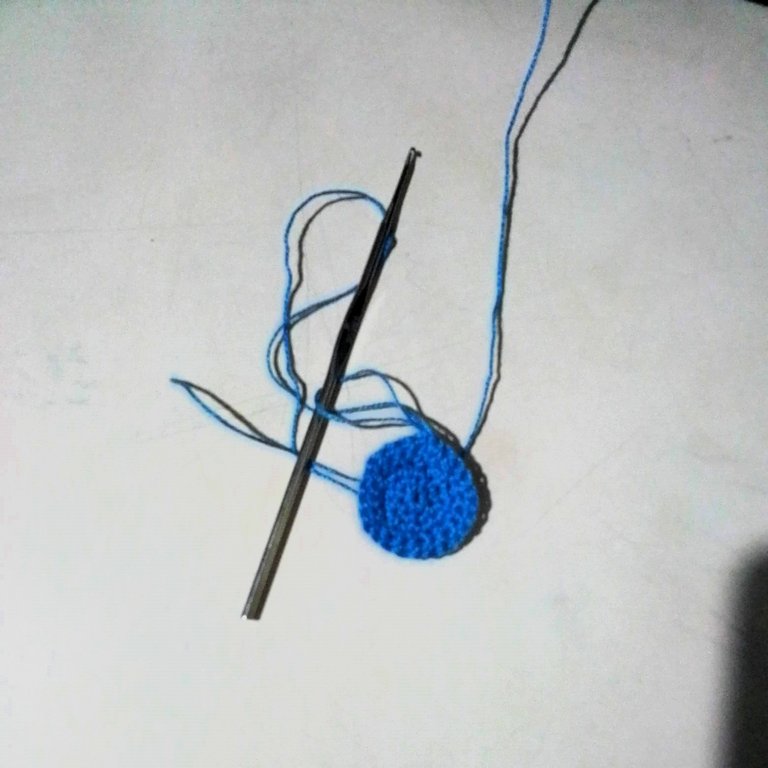
To make the ears, I knitted as follows:
In a ring made with the yarn. I knit 6 single crochet stitches and close the circle by pulling the excess yarn.
Row 2: 1 single crochet and increase 2 stitches on the next stitch, and so on until the end of the row.
Row 3: 2 single crochet and cast on 2 double crochets on the next stitch.
Row 4: 3 single crochets and cast on 2 single stitches on the next stitch.
Row 5: 4 single crochets and increase 2 single crochets on the next stitch.
Row 6: 5 single crochet and increase 2 single crochets on the next stitch.
Row 7: 6 single crochets and cast on 2 double crochets on the next stitch.

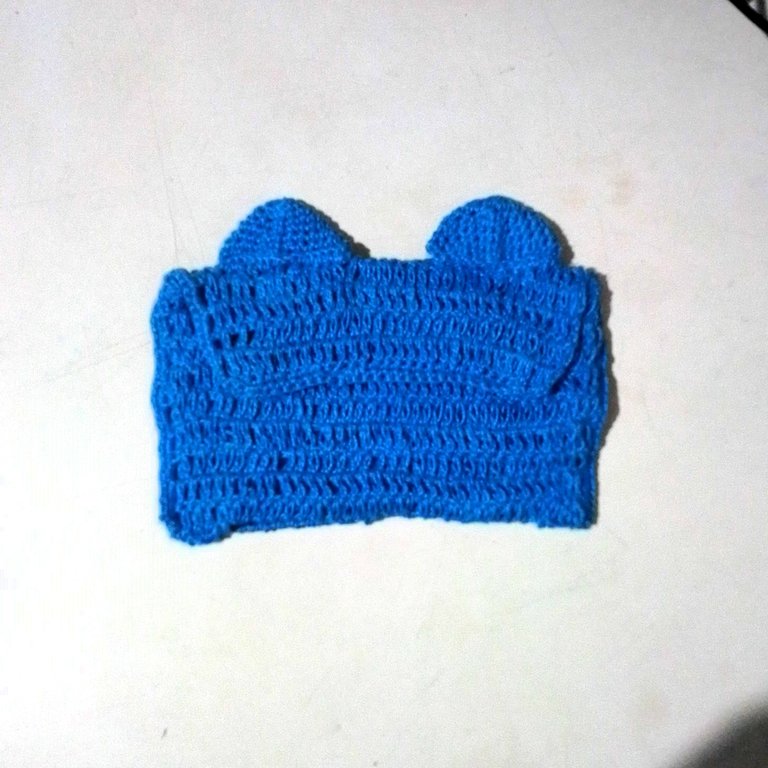
At the end it will look like this and I will make another one like it.


To join the ears to the pouch, I knitted the ears in the fold of the flap, as shown in the image.
 |  |  |
|---|
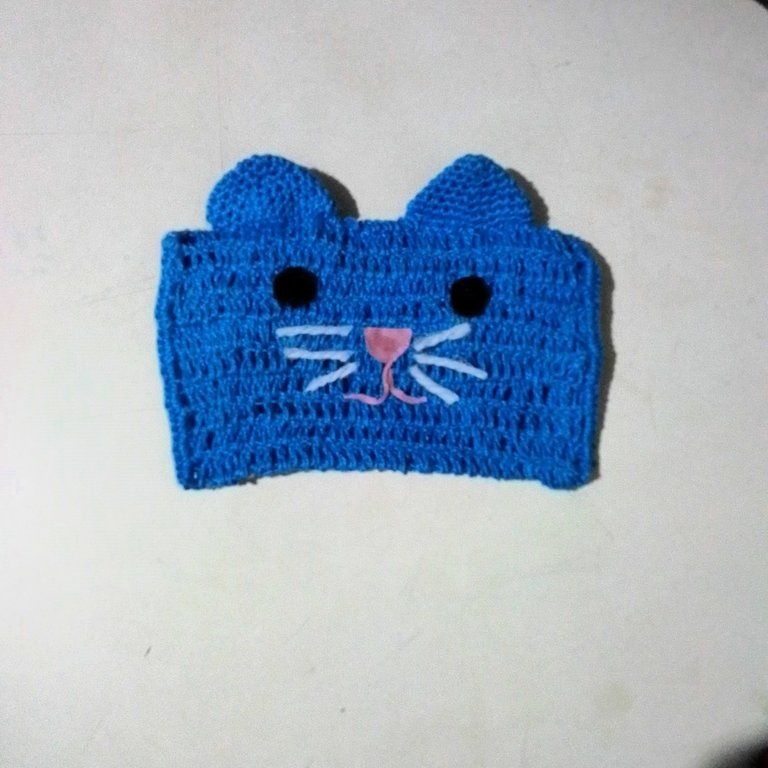
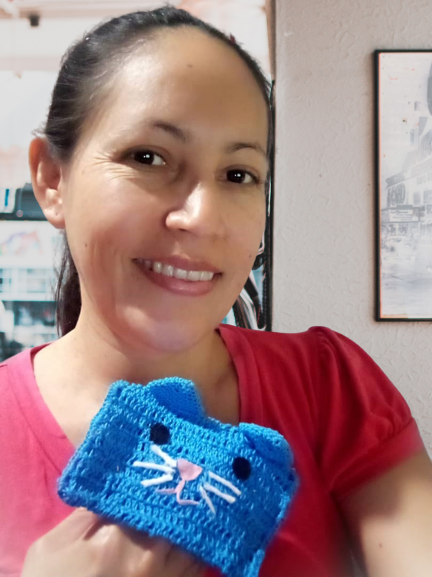
And as you can see, this is how my pencil case turned out. You can see that it is super easy and simple to make.
I hope you liked this tutorial that I was happy to prepare for you. I say goodbye as always, but not before thanking you for taking a little bit of your valuable time to read and visit my blog. Take care of yourselves and have a good time.
Content of the original creation:
🔴 All photos are mine taken and edited with my Alcatel phone.
🟡 The cover image, was made with the Canva application and edited by me.
🟢 The divider images were taken from the Canva page and edited by me in Paint.
🔵 The English translation was done with the help of DeepL.
🟣 The letters indicating the languages were taken from the Cooltext page.

Hola mis queridos lectores, espero que se encuentren bien y que tengan o hayan tenido un excelente día. Para mí es placer participar en este nuevo concurso que nos proporcionan los amigos de @hivediy, aquí les dejo el enlace al Concurso para aquellas personas que se quieran unir, pero eso sí, apresúrense, pues la fecha límite es hasta el 31 de octubre.
Quiero aprovechar la oportunidad para invitar a @gaboamc2393 and @marbella74 a formar parte de este concurso. Les cuento que cuando era pequeña y estaba en el colegio, mis padres no tenía dinero para andar comprando útiles como bolso y cartucheras y todas es cosas que llevan los niños al colegio hoy en día. Tuve la fortuna de tener una madre que era profesora de corte y costura y ella era quien nos hacía todo eso.
El bolso que llevaba era de tela hecha por mi madre, al igual que las cartucheras y la verdad es que no tenía nada que envidiarle a las de los demás niños. Yo andaba muy emocionada con mis útiles hechos por mi mamá. Recuerdo también que después ella me enseñó a tejer a crochet y macramé, y yo misma me tejí un bolso tipo bandolero y hasta una correa me hice, a todas mis compañeras les encantaba y hasta me pedían que les hiciera unos.
Ahora hoy en día los niños solo quieren tener cosas materiales compradas y con imágenes alusivas a sus personajes favoritos. Tenemos que enseñarles que también pueden usar útiles hechos a mano y que tienen el mismo valor que uno comprado.
Hoy les quiero mostrar el paso a paso de como realice una cartuchera, con material de provecho, material que me ha quedado de otros trabajos, por lo tanto, no he gastado nada de dinero en ella. Sin más preámbulos les muestro los pasos.
PASO A PASO:
Para realizar este trabajo, use dos puntos básicos que son: el punto medio y el punto alto. Comencé realizando unas 50 cadenetas y para la 2.ª y 3.ª vuelta realicé puntos bajos.
Después de realizar los puntos bajos, tejeré 50 puntos altos.
Seguiré tejiendo solo puntos altos hasta completar 20 hileras de puntos altos. El tamaño deseado para hacer el doblez donde guardaré los colores.
| |
|---|
| |
|---|
Como pueden apreciar en la imagen, hice una marca para saber a donde haré el doblez. Continuo tejiendo con puntos altos unas 6 vueltas más. Y luego termino con dos vueltas en puntos bajos, disminuyendo un punto en cada esquina.
Una vez finalizada la solapa, tejeré puntos bajos por todo el alrededor. Y continuaré hasta el final, tejiendo cuidadosamente en la parte donde uno la parte que va doblada. Y hago el mismo procedimiento del otro lado.
Ya listo todo el tejido, procedo a colocarle el cierre mágico (velcro o cierre de contacto, como le dicen en otros países) en las puntas de la solapa y coso con la aguja. Tal como se muestra en la imagen.
Ahora realizo la carita del gato y lo haré con los retazos de tela negra, la cual recorte dos círculos para los ojos. Con la tela rosada recorte la nariz y una tira fina para hacer lo que será la boca. Y con el estambre blanco le hice los bigotes, tal como lo pueden apreciar en la imagen.
| | |
|---|
Para realizar las orejas, tejí de la siguiente manera:
En un anillo hecho con el hilo. Tejí 6 puntos bajos y cierro el círculo halando el hilo sobrante.
2 vuelta: 1 punto bajo y aumentamos 2 puntos en el próximo punto y así hasta terminar la vuelta.
3 vuelta: 2 puntos bajos y aumentamos 2 puntos bajos en el próximo punto.
4 vuelta: 3 puntos bajos y aumentamos 2 puntos bajos en el próximo punto.
5 vuelta: 4 puntos bajos y aumentamos 2 puntos bajos en el próximo punto.
6 vuelta: 5 puntos bajos y aumentamos 2 puntos bajos en el próximo punto.
7 vuelta: 6 puntos bajos y aumentamos 2 puntos bajos en el próximo punto.
Al finalizar nos quedará así de esta manera y realizaré otra igual.
Para unir las orejas a la cartuchera, lo realicé tejiendo puntos bajos justo en el doblez de la solapa, tal como se muestra en la imagen.
| | |
|---|
Y como pueden ver, así quedo mi cartuchera. Vieron que es súper fácil y sencilla de hacer.
Espero que les haya gustado este tutorial que con mucho gusto les prepare. Me despido como siempre, no sin antes agradecerles por haber dedicado un poquito de su valioso tiempo para leer y visitar mi blog. Cuídense mucho y pórtense bien.
Contenido de la creación original:
🔴 Todas las fotos son mías tomadas y editadas con mi teléfono Alcatel.
🟡 La imagen de portada, fue realizada con la aplicación Canva y editada por mí.
🟢 Las imágenes divisorias fueron tomadas de la página de Canva y editadas por mí en Paint.
🔵 La traducción al inglés fue hecha con la ayuda de DeepL. 🟣 Las letras que indican los idiomas, fueron tomadas de la página Cooltext.
Bright color, with cute shape, really suitable for children. I would love to have it too, but yeah I am not good for those works 😅
Nice work!
Hola. Lo mismo decía yo cuando estaba aprendiendo a tejer 😔. Pero después de mucho tejer y destejer bastante también 🤭, logre agarrarle la vuelta. Solo es cuestión de querer hacer las cosas y que te guste lo que haces, para que se te haga más fácil. Gracias por tu apoyo, saludos.
Congratulations @kdelvaeg! You have completed the following achievement on the Hive blockchain And have been rewarded with New badge(s)
Your next target is to reach 10000 upvotes.
You can view your badges on your board and compare yourself to others in the Ranking
If you no longer want to receive notifications, reply to this comment with the word
STOPCheck out our last posts:
Your personal story about your mother teaching you how to crochet is a great reminder that handmade items hold their own value and charm. Well done.
Thank you very much, the truth is that I thank God for giving me a super creative mother in that part of sewing, knitting and crafts. The fact that she has taught me and had patience with me, because it was hard for me to learn ha ha ha, but I made it and everything I know, I owe it to her. And now, in my role as a mother, I am going to teach it to my daughter and I hope she likes it as much as I do.
@kdelvaeg
https://inleo.io/threads/view/hive-130560/re-leothreads-6voprgc4
https://twitter.com/hivediy47901/status/1718813296239739111
I am immensely grateful for your support, I am really glad to be able to count on you.
Me encantó esta cartuchera de gatito, es muy tierna y hermosa, gracias por compartir, saludos y suerte en el concurso 🥰
Me alegra que te haya encantado. Muchas gracias a ti por tu apoyo. Saludos.
Hola, amiga @kdelvaeg te felicito por tu bella cartuchera. Recordé la canción de Roberto Carlos "El gato que está...y azul", sólo que este gato no está triste y más bien dará alegría al niño que lo utilice. Gracias por compartir. Éxito en el concurso.
Wow de repente hice un viaje al pasado con tu comentario. Mi mamá y una compañera de trabajo, les encantan las canciones de Roberto Carlos. Con quien menos lo hubiese asociado, era con esa canción, gracias por recordarme que había una canción que hablaba del gato azul. Me alegra que te haya gustado la cartuchera y gracias a ti por tu apoyo.
te quedó muy chevere
Muchísimas gracias y por tu visita y apoyo.
Genial! Entrada valida amiga, gracias por participar, te ha quedado adorable <3
Muchas gracias por aceptar mi entrada, me alegra que le haya gustado. Saludos.
bonito trabajo :)
Muchas gracias y por tu visita y apoyo.