Lost a key before? See how I made a keyholder from a scrunchie
Hi everyone, this is my second entry into the needlework monday showcase, today I like to show you how I made a fancy keyholder from an old scrunchie. But this won't be complete until I tell you the situation that pushed me into making this keyholder.
Over the last weekend, I went to church in the evening for a meeting and thereafter I went home. When I tried to search my bag for my single key to unlock my door, guys, my key had disappeared. It was night already at the time, so I couldn't get any professional help, since it's an iron door. I know this key loss situation I'm describing is not strange to most of us who may have lost our key at one time or the other. How I slept that night? You can't imagine how embarrassed I felt going back to church to rest for the night. I had a good time though, but that key loss experience is one I don't ever want to experience in my life again.This is why I chose to take us on a journey on how I made this satin keyholder.
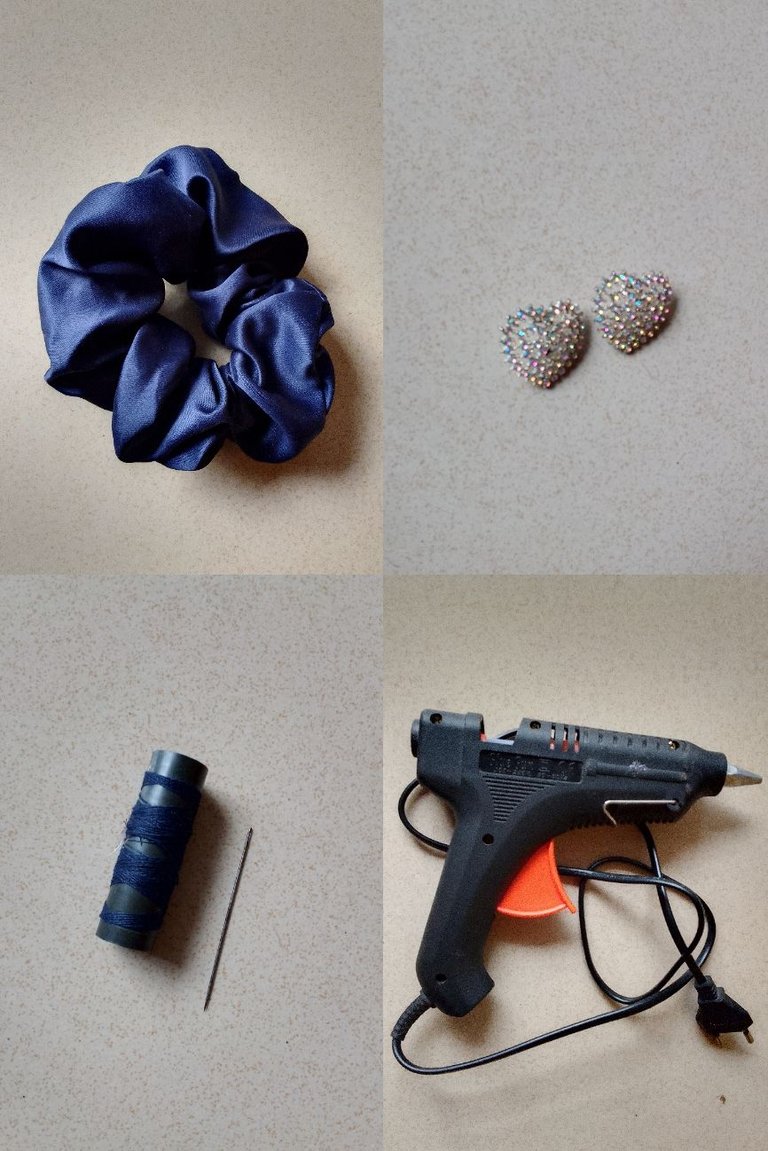
So for this key holder,I used:
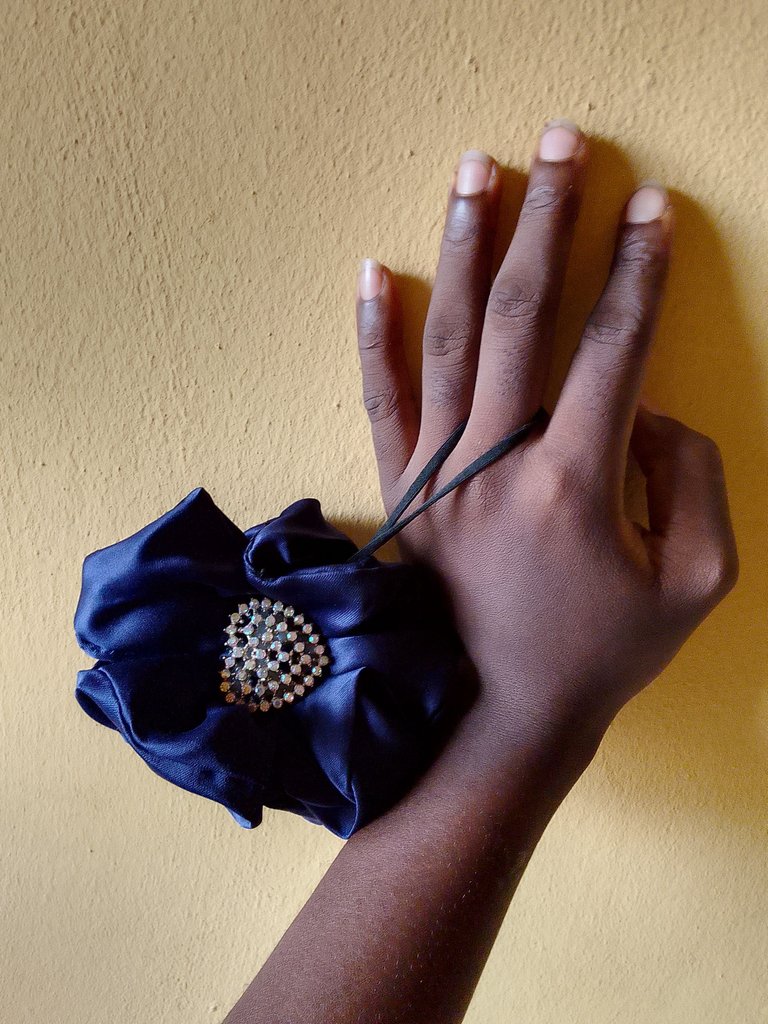
- A satin scrunchie
- Needle and thread
- A hot gun
- A pair of metal earrings
- A string of elastic band
One thing we must know about creating this scrunchie is the fact that the materials cost little or nothing which means I made use of already existing materials.I did not buy any fabric, rather, I used my old scrunchie (hair-packer) a strand of thread (not up to a yard of thread), and an old pair of metal earrings which I thought could serve as an enhancer. Guys, I wasn't joking when I embarked on this creation journey, because, my last experience losing my key was not a happy one, I felt embarrassed and disappointed in myself.There are five steps for this tutorial, very brief and easy to try.Just follow me...
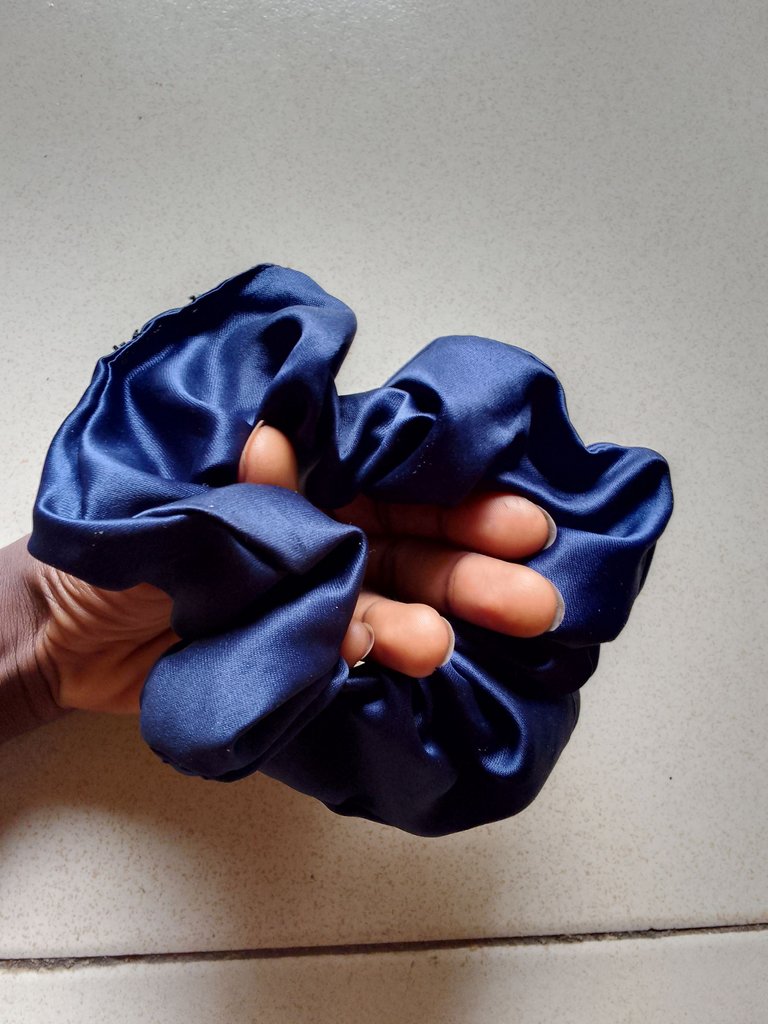
First step
Using needle and thread, sew the scrunchie in the center/middle

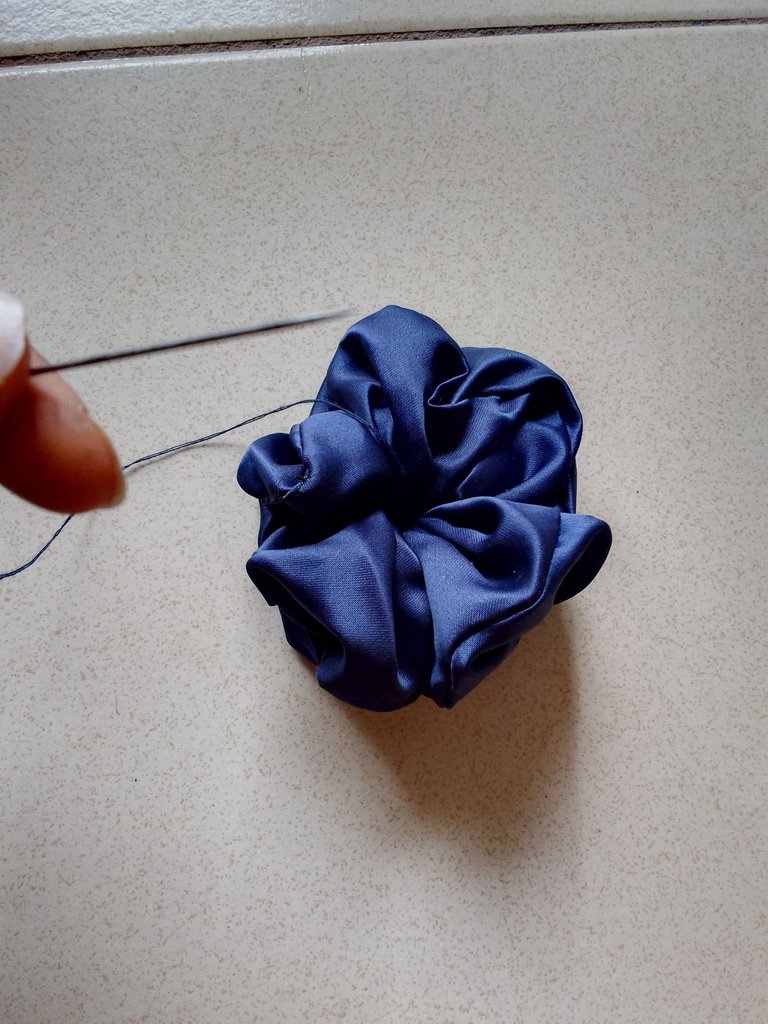
Step 2
Drag the thread until the space between is closed. We don't want any space in-between to enable us crest our metal earrings firmly in the center.
Step 3
Heat up the hot gum and apply some to the tacked middle and attach one pair of the earrings to the steaming gum like this...

Step 4
Repeat the same process on the other side placing the second pair of metal earring over steaming hot gum on the other side of the fabric.
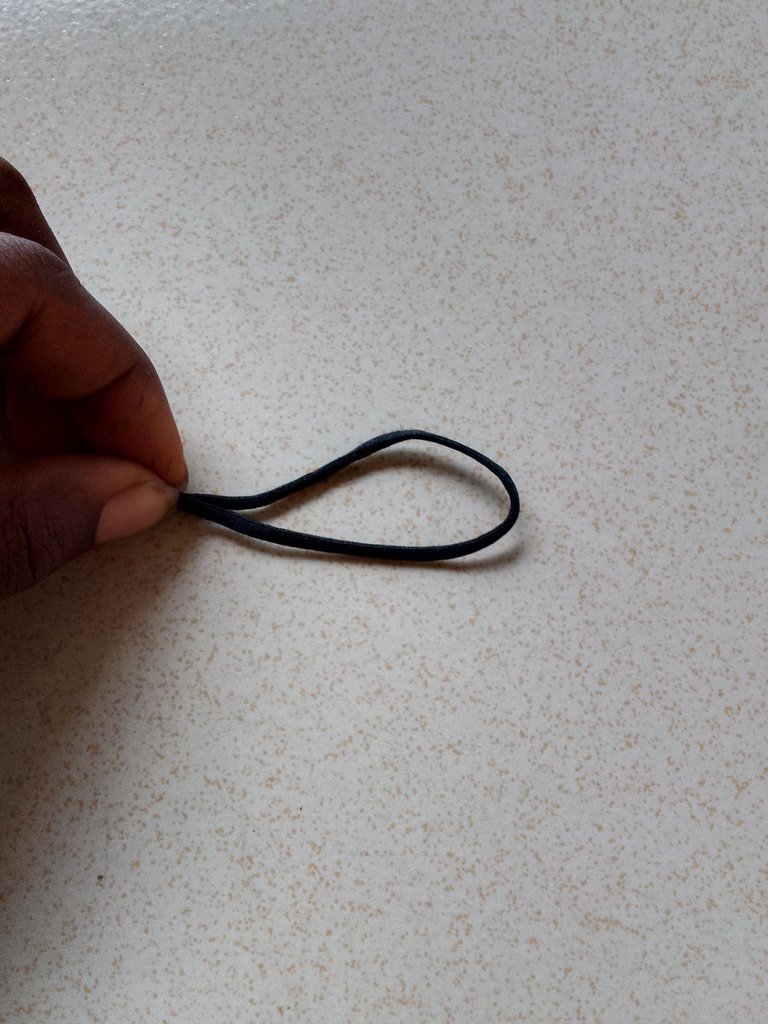
Step 5
Attach the elastic string on the keyholder
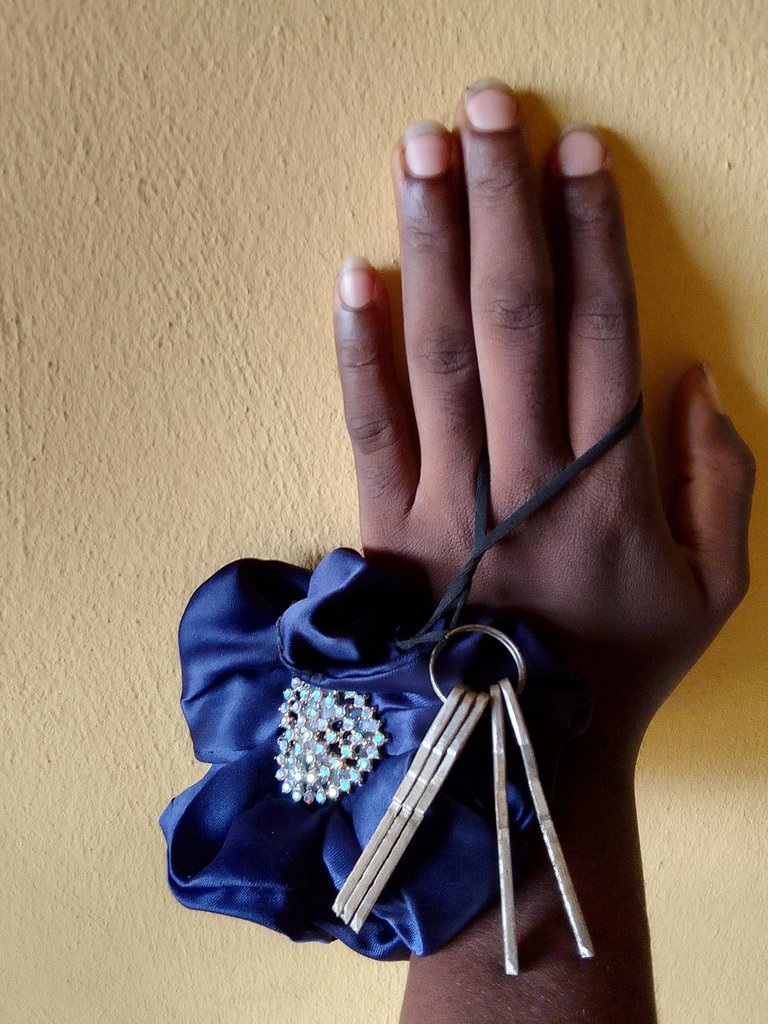
Now the fancy satin keyholder is ready!!! We can now attach keys to it. And flaunt! flaunt! flaunt it!!!
I Hope this was helpful.
Wow, this would be very useful for me since I keep struggling with my keys and in addition I do have a lot of fabrics.
Well done dear
Thanks for sharing.
Thank you so much @monica-ene pls do make one for yourself. Losing a key(s) isn't an occasion anyone is prepared for and please don't wait until it happens. You'll be glad u did...
I will thanks dear r
Welcom3 to the community and thanks so much for sharing this nice idea with all of us.
Thank you @kattycrochet, it's a privilege.
Awwwwww Harewa this was so nice and the key holder came out just fine.
I am so proud of you Harewa, you rock baby girl!!
Thank you for pushing me hard @ibbtammy,🥂 to better days...
Congratulations @harewa! You have completed the following achievement on the Hive blockchain And have been rewarded with New badge(s)
Your next target is to reach 600 upvotes.
You can view your badges on your board and compare yourself to others in the Ranking
If you no longer want to receive notifications, reply to this comment with the word
STOPThank you so much @hivebuzz. I feel encouraged. Looking forward to better days on hive...
You're welcome @harewa! Have a nice day 😊👍